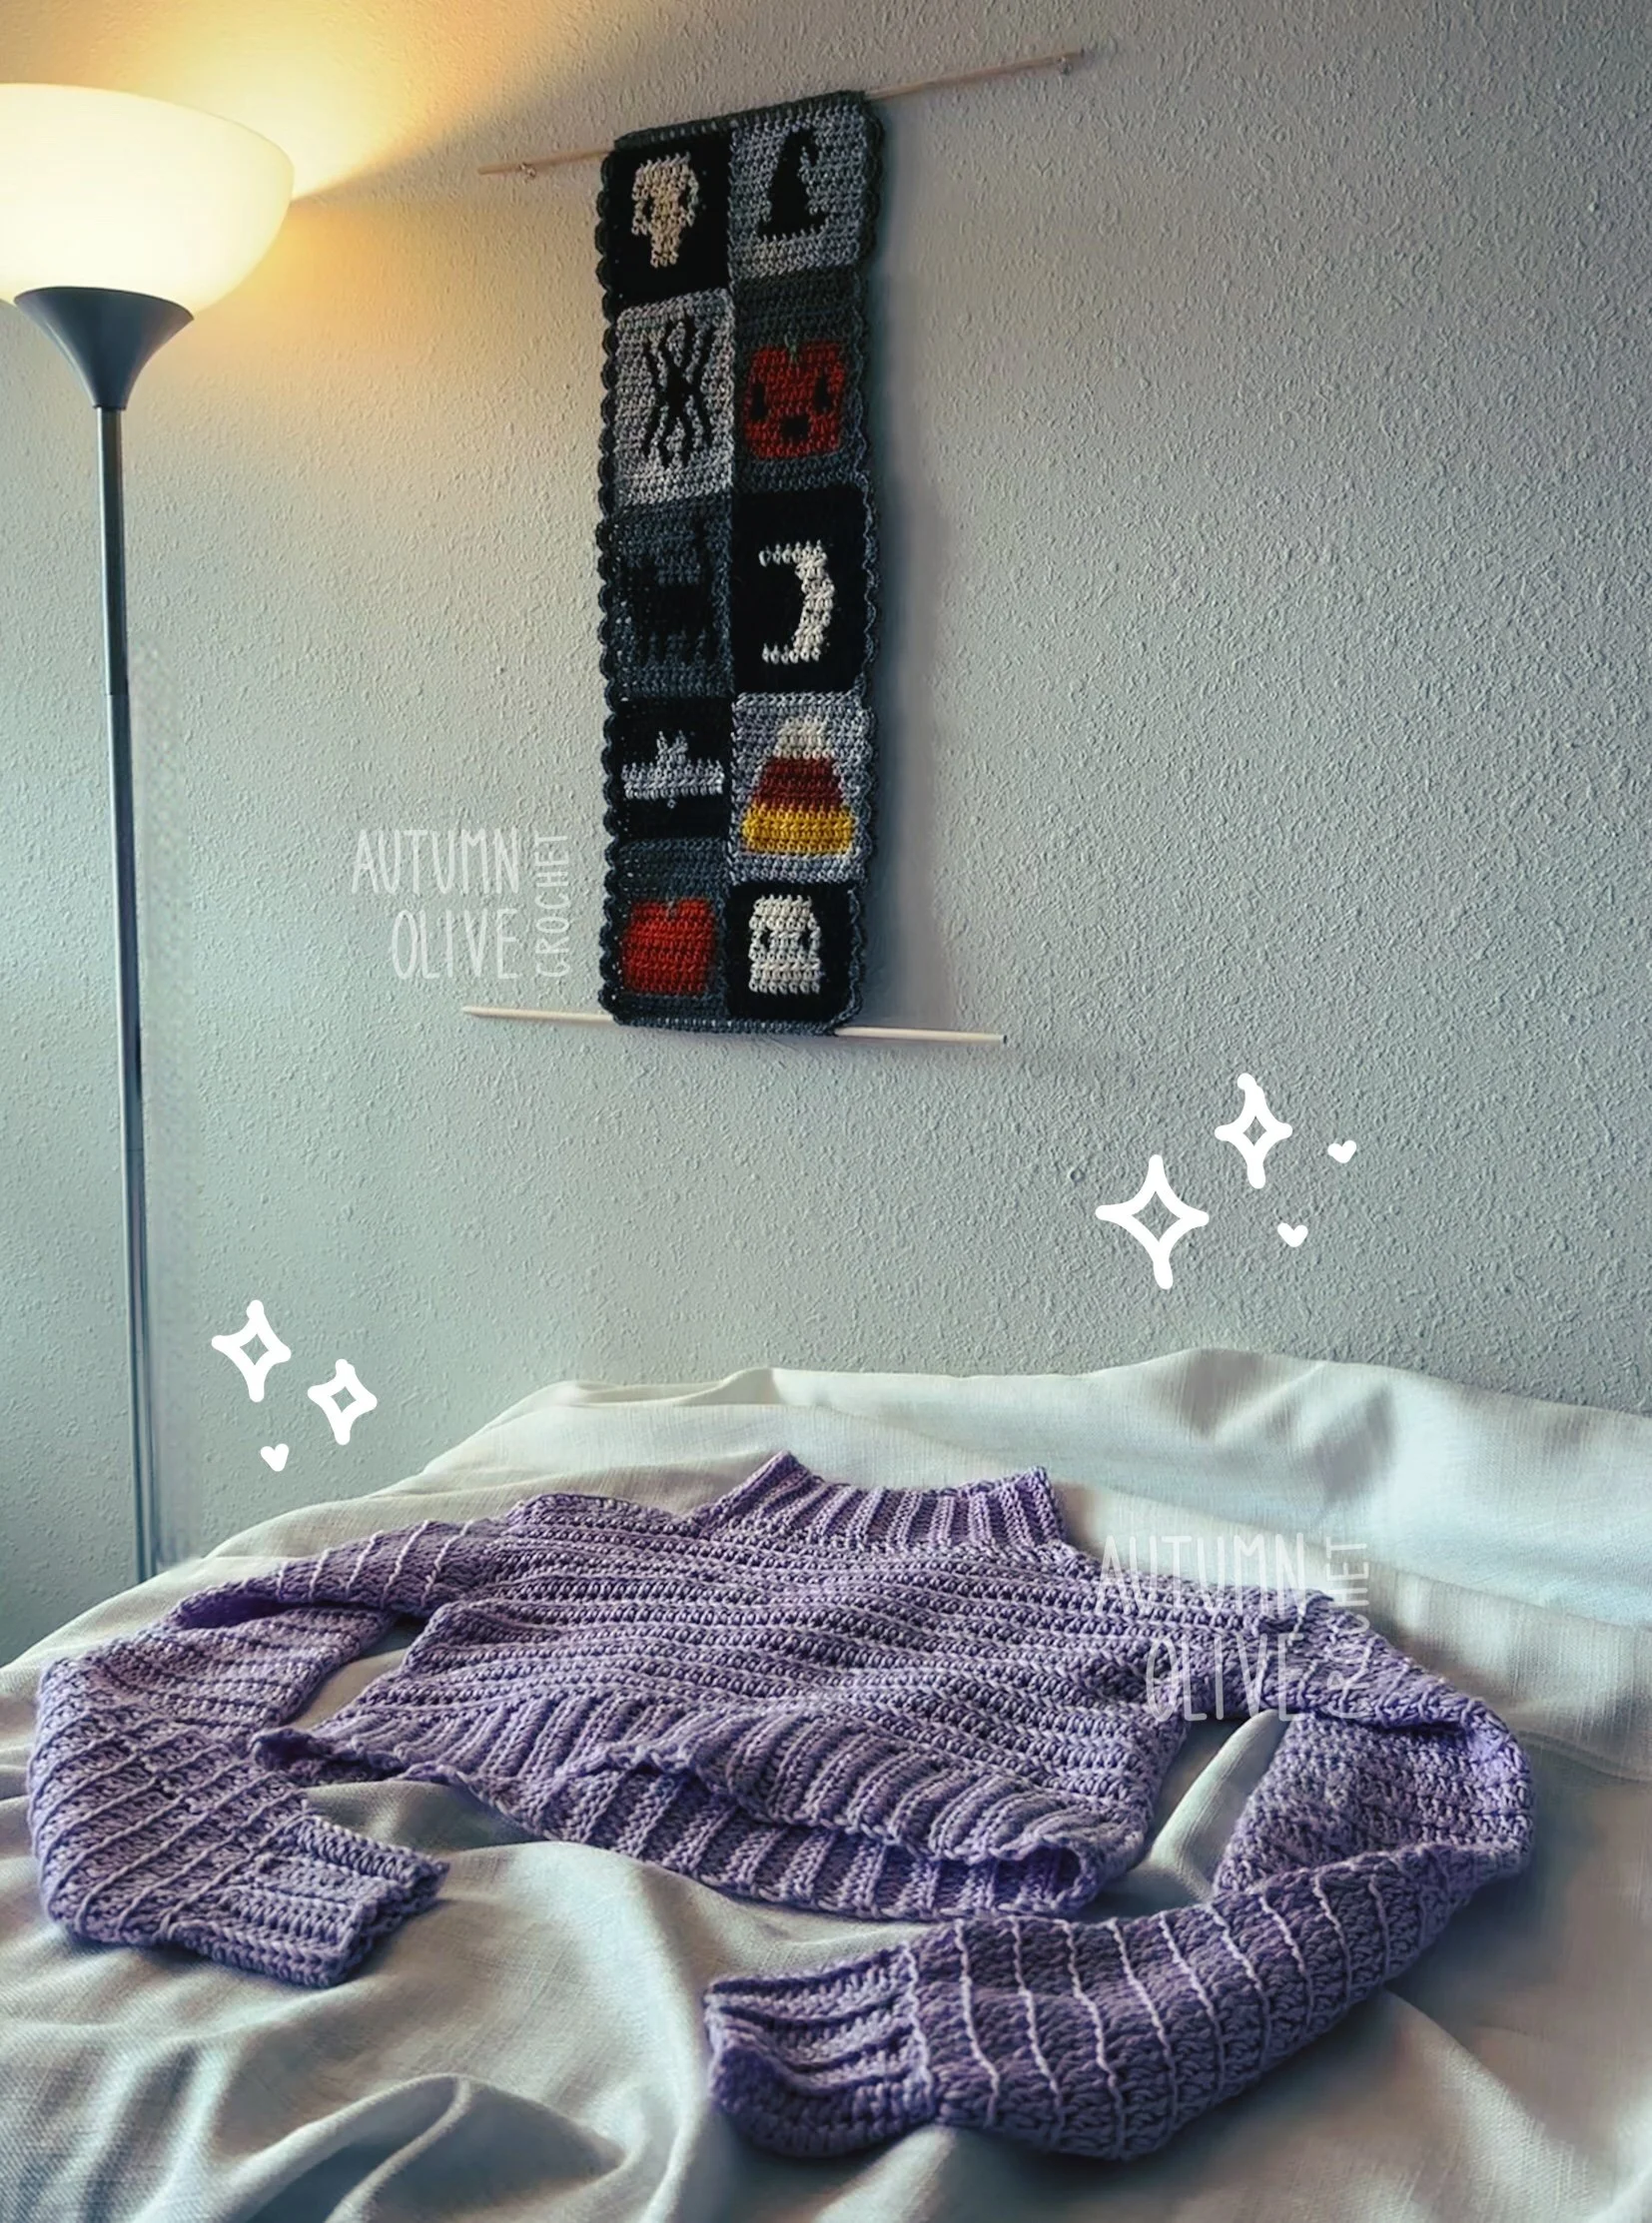
the other sweater ♡
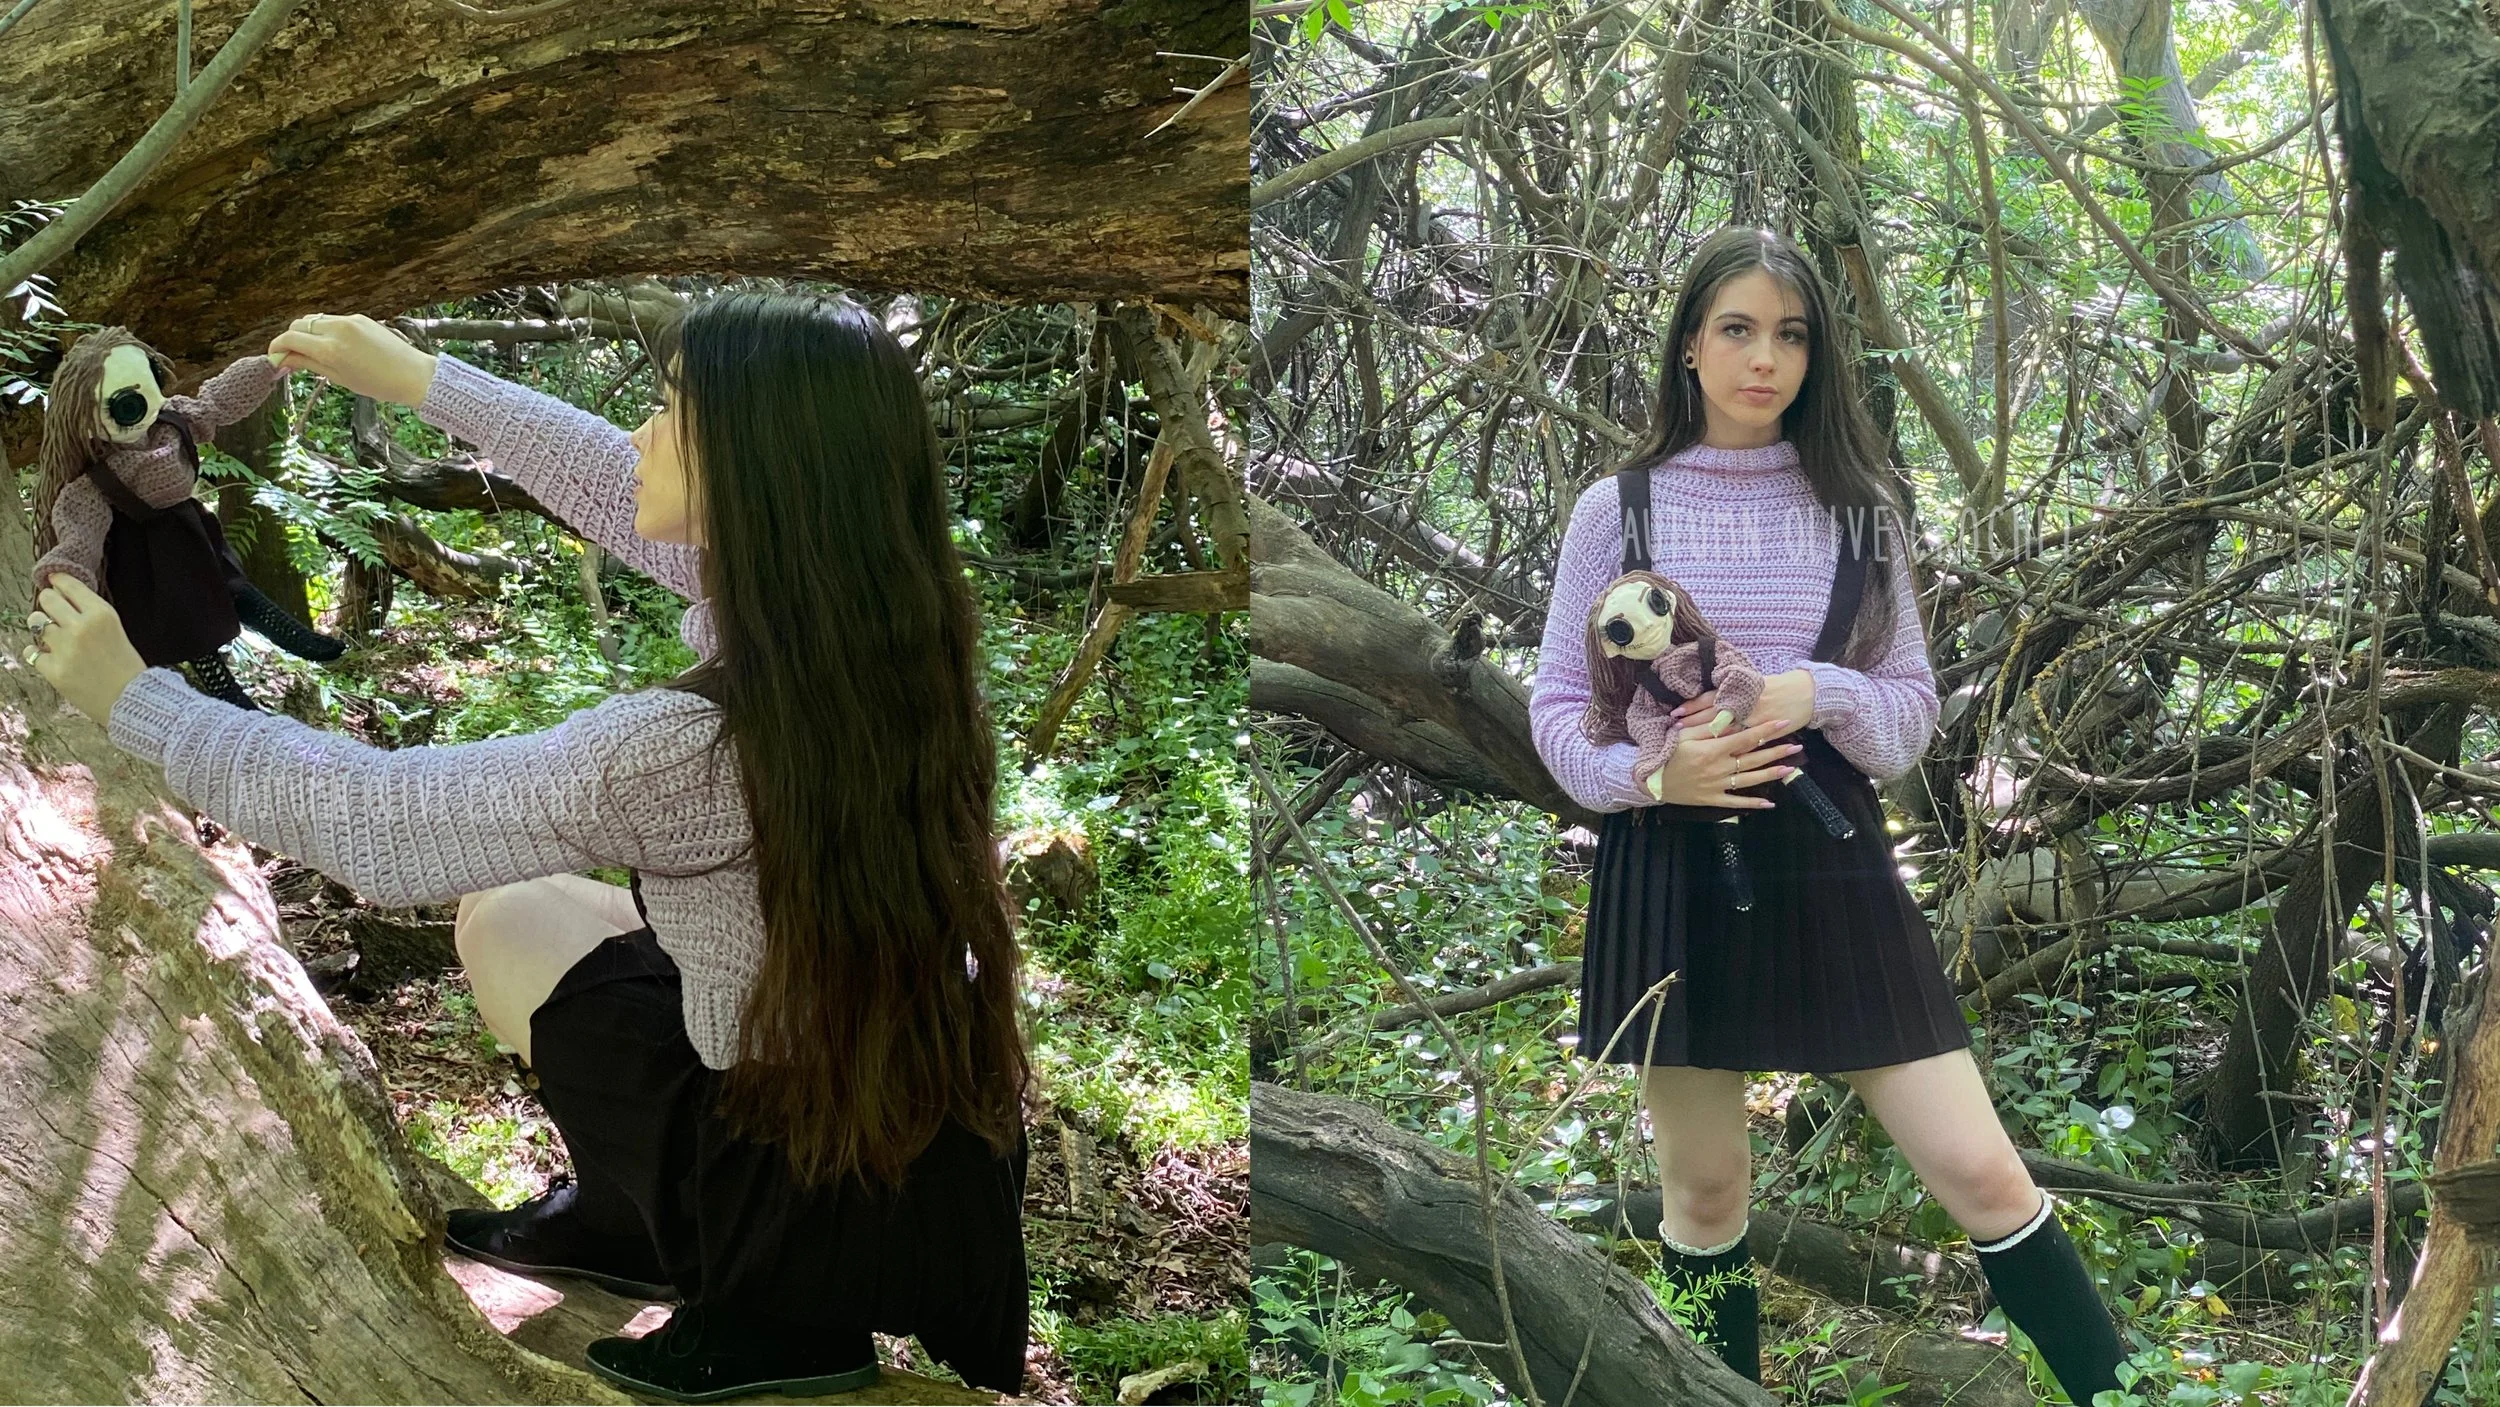
“the other sweater” pattern is named after the “other world” in Coraline, photo credits to a lovely old California friend! we made mini Coraline style dolls of us and took photos of each other
♡ an autumn olive crochet original pattern by autumn olivia ward
do not sell, copy, or claim this pattern as your own.
written in standard US crochet terms
you may sell items made using this pattern! please credit me as the designer in your listings and include the link to this pattern.
@autumnolivecrochet on all socials, tag me when you post your creations!
info ♡
the other sweater is made to measure, worked in separate panels each from the bottom up and sleeves in the round, with half double crochet (hdc) and double crochet (dc); panels are connected via whip stitch, mockneck collar is optional
if you would like to see more detailed photos and video walkthrough on steps such as working into the side of the ribbing or the collar/sleeve cuffs, please consider purchasing the autumn olive oversized pullover or one of the graphic variations (vintage kitchen, mabel collections, care bear costumes etc) which uses these techniques
materials ♡
size H/8-5mm crochet hook
yarn needle, scissors, measuring tape
lightweight (3) yarn (‘sateen’ used in example)
measurements ♡
you will need to know the following measurements for yourself or the wearer of the sweater; alternatively, you could compare to your body as you go or to a preexisting sweater
1: desired circumference around torso
2: desired length from top of shoulder down over the chest
3: desired circumference around arm (same size throughout)
4: length of arm (extended out in a T position) wrist to underarm
BODY PANELS ♡ make 2 of the same
starting with ribbing:
leave a starting tail that is equal to measurement 2, chain 11, chains do not count as stitches, working into the second chain from the hook
row 1: hdc into each chain across (10) chain 1, turn
row 2: hdc back loops only (BLO) into each stitch across (10) chain 1, turn
repeat row 2 until you reach HALF of measurement 1, end on an even number of rows
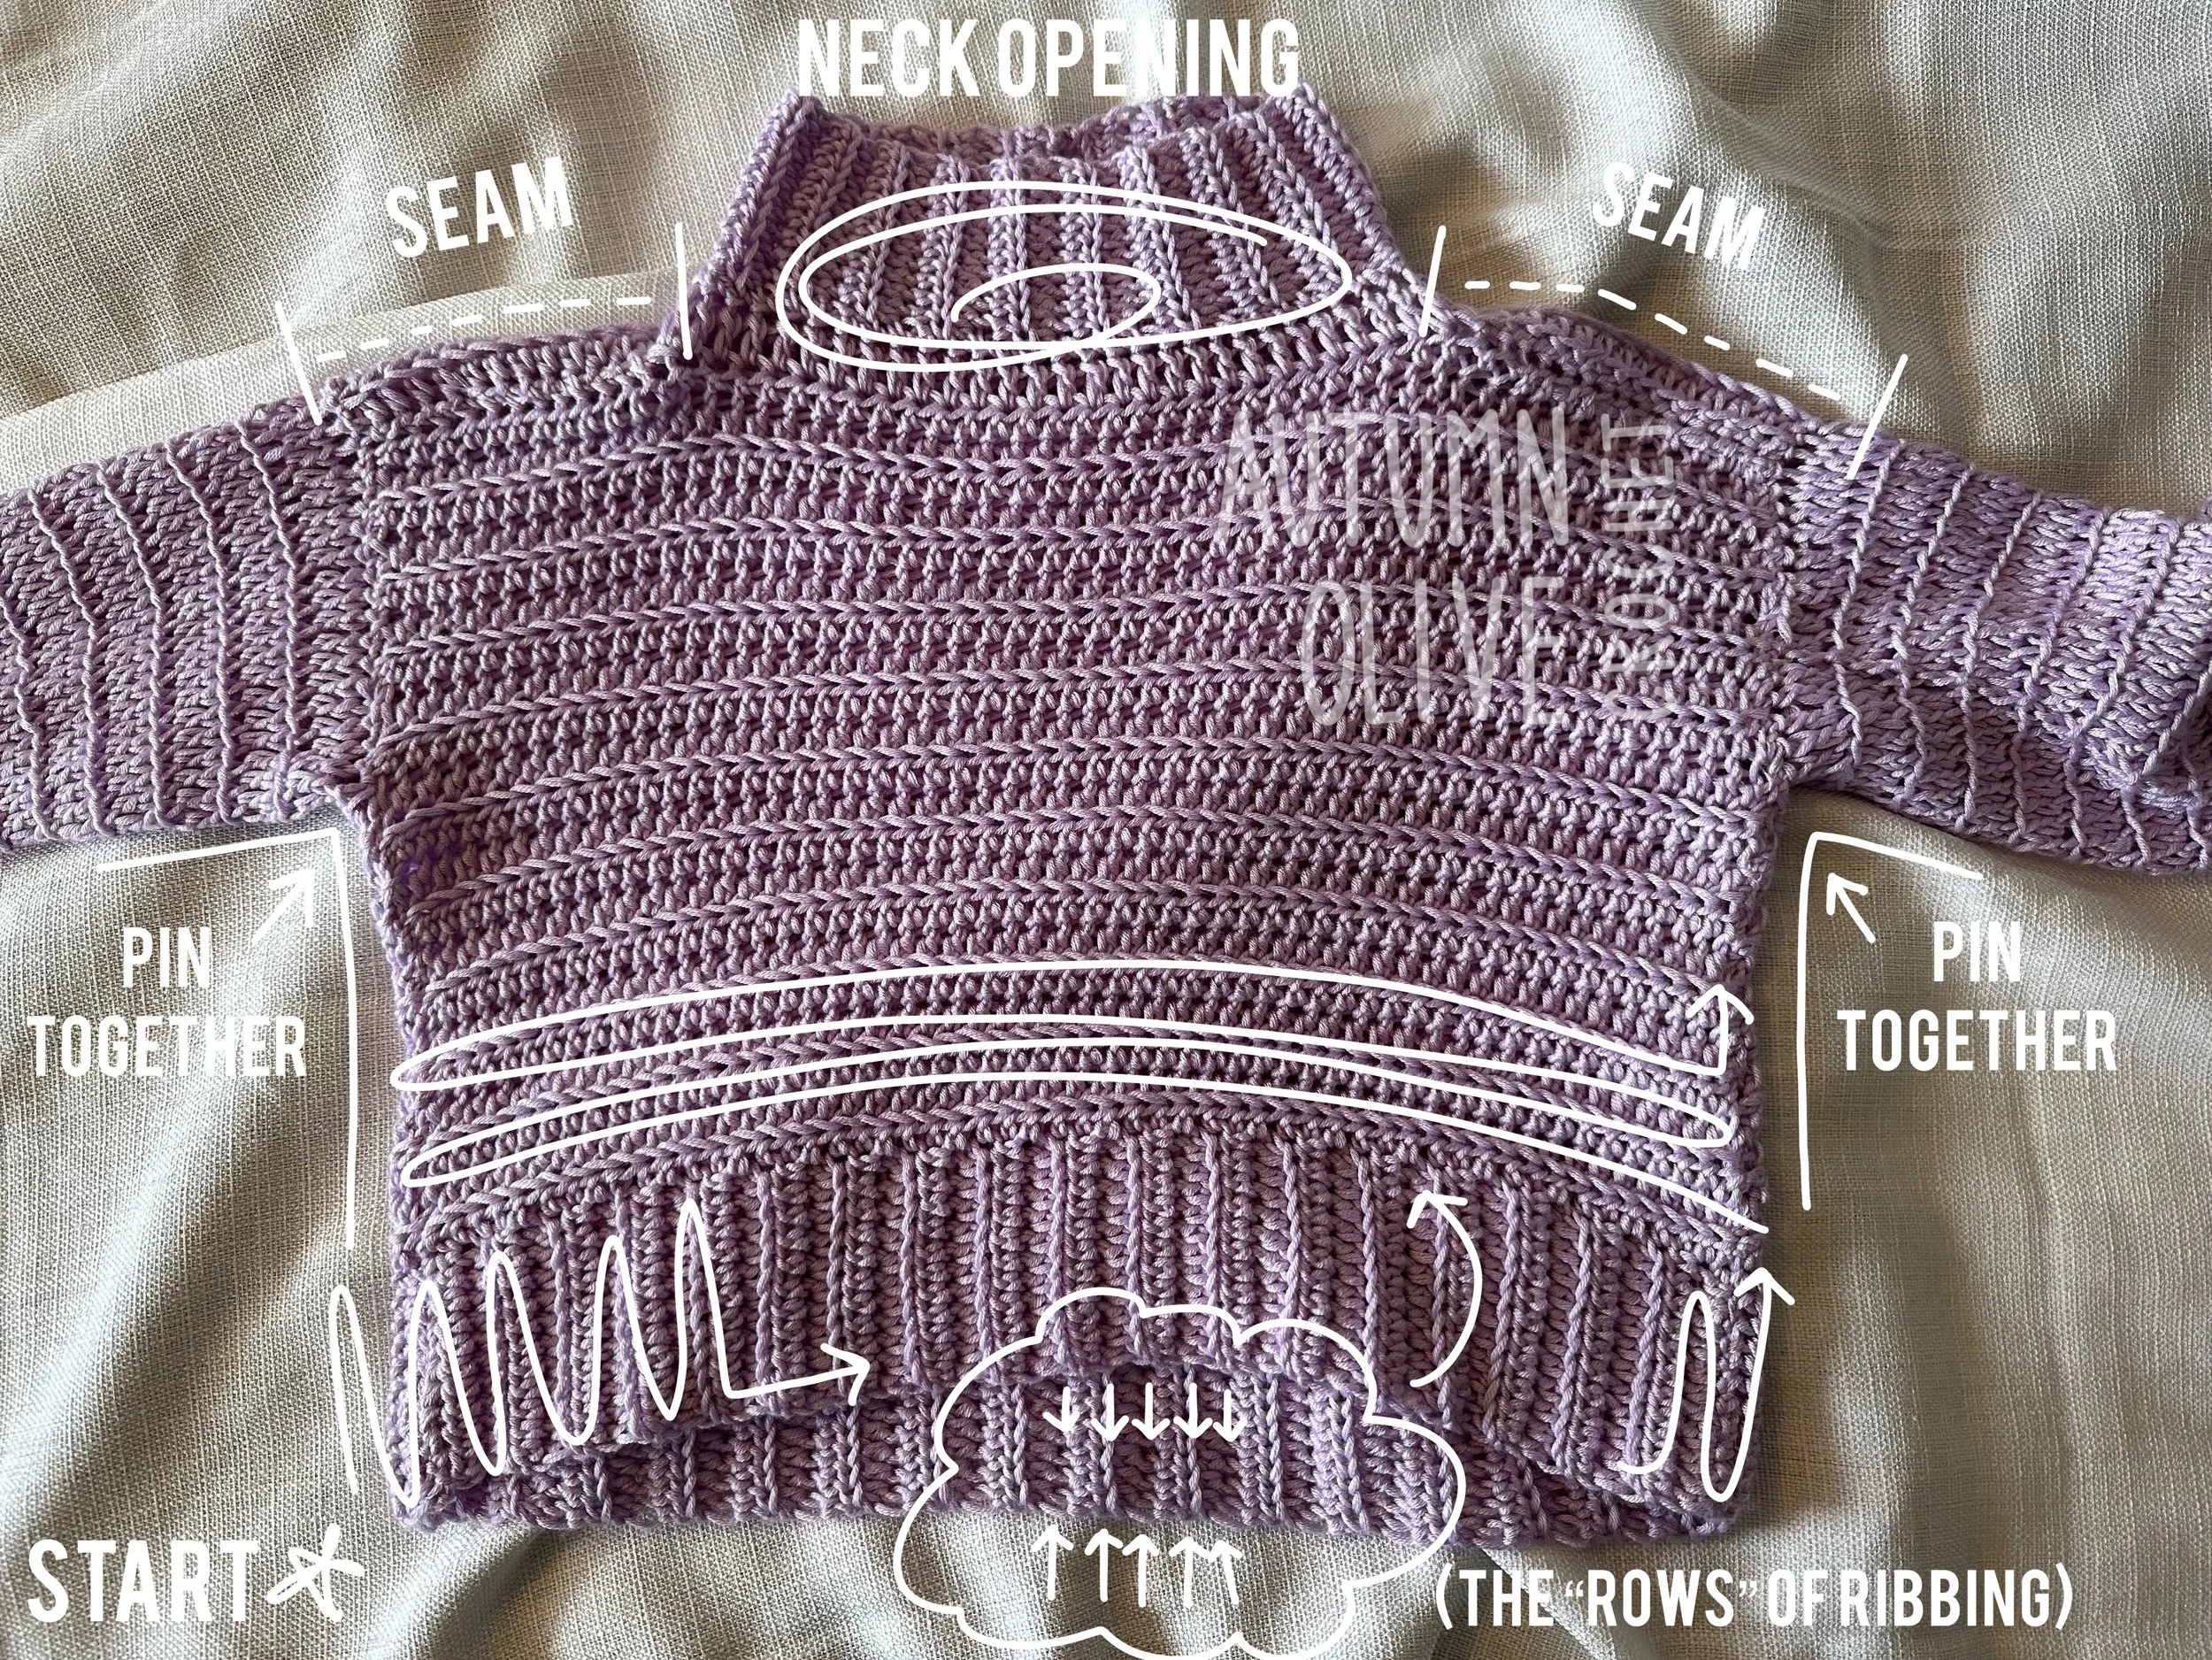
now working into the long side of the ribbing:
row 1: chain 1 (counts as your first half double crochet) working into the side of each row of ribbing across, work 1 hdc into the first loop, work 2 hdc into the next loop, repeat — you should have 3 hdc per every 2 rows of ribbing you’re working into
row 2: chain 1 (counts as your first hdc) BLO hdc across into each hdc of row 1
row 3: repeat row 2 until you reach measurement 2
fasten off, leaving a tail the width of the panel for seaming
after finishing both: lay the panels on top of each other so that there is a tail on each side, use a whip stitch to gently seam the shoulders from the outer corners of the panel towards the inside, leave the center 10-11 inches without a seam (this will leave a total of 20-22 inches for the head to fit through)
count from the shoulder seam down the panel until you reach HALF of measurement 3; 10 rows for example, place a stitch marker/pin/scrap yarn on that 10th row from the seam through both panels — now you have an imaginary sleeve opening
SLEEVES ♡ make 2 of the same
working into the sides of the sweater panels:
pull up a loop at the sleeve opening where the stitch marker is, working clockwise along the outside of the opening
chain 2 (counts as first dc)
work 2 double crochets into the side of every hdc at the end of the panel rows around the arm opening — slip stitch to first chain 2 to close the round
chain 2 (counts as first dc) repeat last line until you get to measurement 4
on the last round, work every other dc as a decrease
cuffs: worked in rows, attached as you go: think of it as 3 slip stitches into the sleeve to attach every 2 cuff rows you work
chain 11, turn, starting in the second chain from the hook
row 1: hdc into next 10 chains of cuff, slip stitch into next 3 stitches of sweater sleeve (do not count the one you chained from), turn, do not chain 1, skip the 3 slip stitches, now working into BLO
row 2: hdc into next 10 BLO stitches of cuff, chain 1, turn
row 3: hdc into next 10 BLO stitches of cuff, slip stitch into next 3 stitches on sleeve (do not slip stitch into the same one you last slip stitched into), turn, do not chain 1, skip the 3 slip stitches
rows 4 and onward: repeat rows 2 & 3 around
fasten off leaving an 8 inch tail, seam the cuff closed (you may try BLO whipstitch to get it to match the texture)
NECKLINE ♡
worked in rows, attached as you go: think of it as 3 slip stitches into the sweater panel to attach every 2 collar rows you work
pull up a loop at any stitch on the back of the sweater at the neck opening, chain 11, turn, starting in the second chain from the hook
row 1: hdc into next 10 chains of collar, slip stitch into next 3 stitches of sweater panel (do not count the one you pulled up a loop from), turn, do not chain 1, skip the 3 slip stitches, now working into BLO
row 2: hdc into next 10 BLO stitches of collar, chain 1, turn
row 3: hdc into next 10 BLO stitches of collar, slip stitch into next 3 stitches on sweater panel (do not slip stitch into the same one you last slip stitched into), turn, do not chain 1, skip the 3 slip stitches
rows 4 and onward: repeat rows 2 & 3 around
fasten off leaving an 8 inch tail, seam the collar closed (you may try BLO whipstitch to get it to match the texture)


