
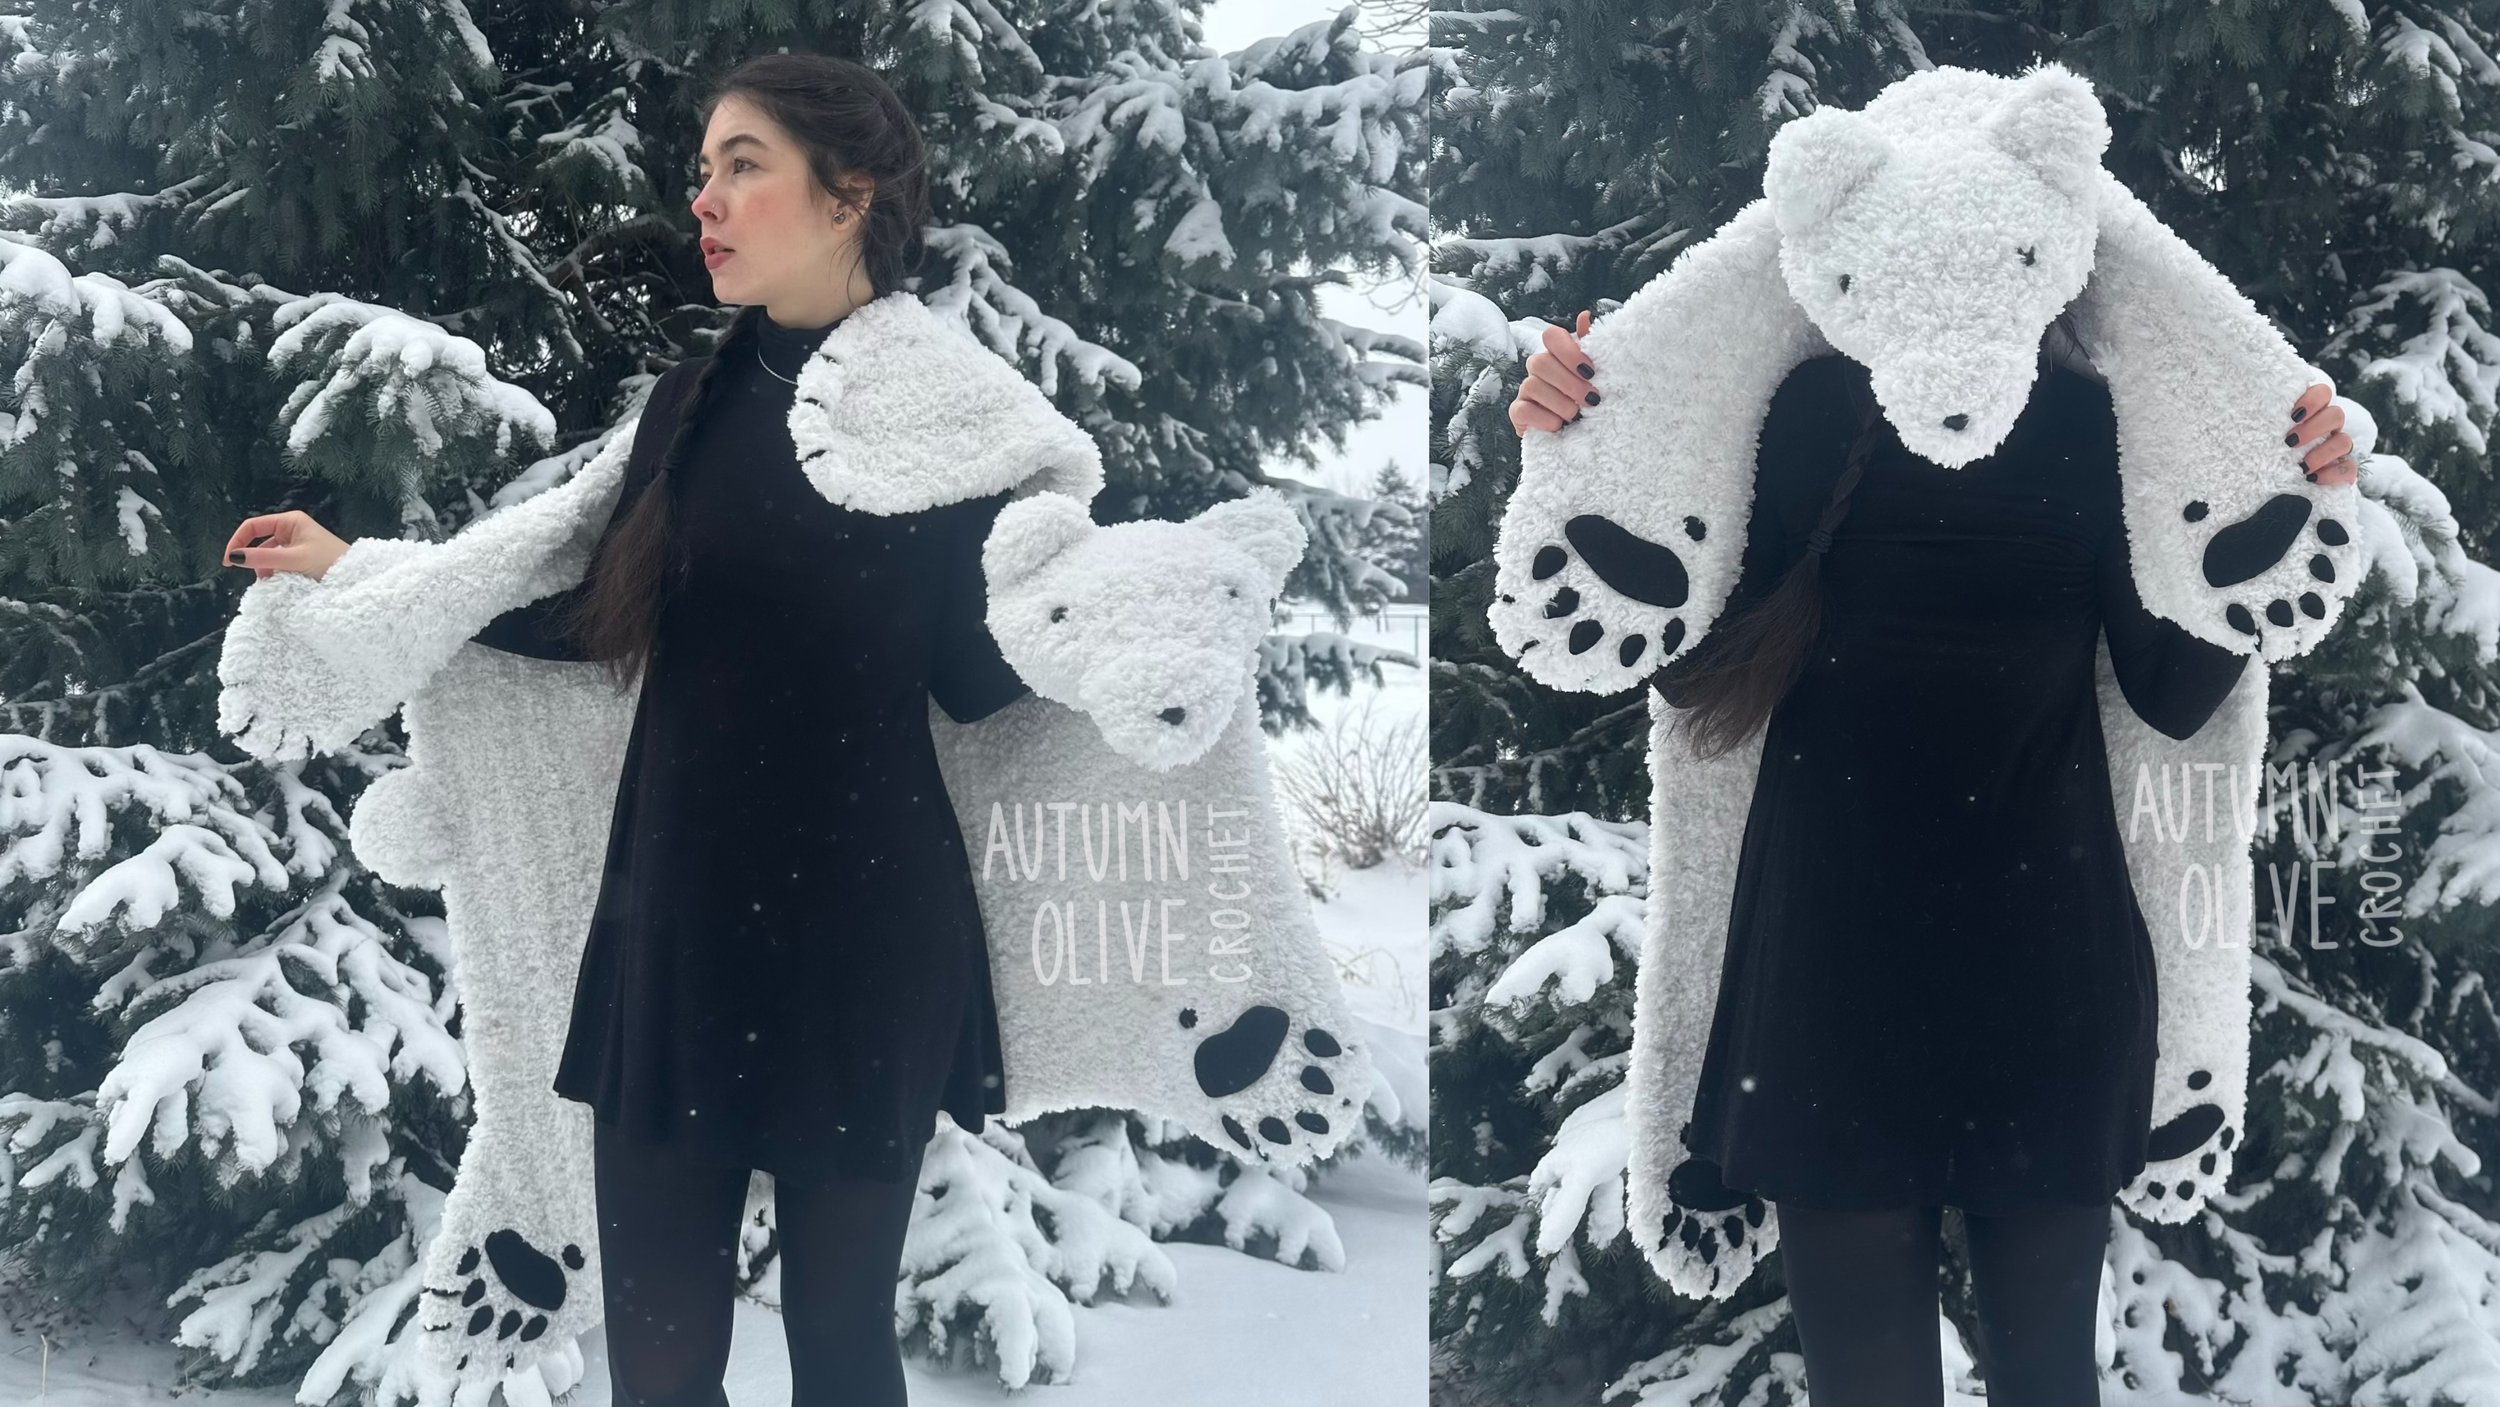
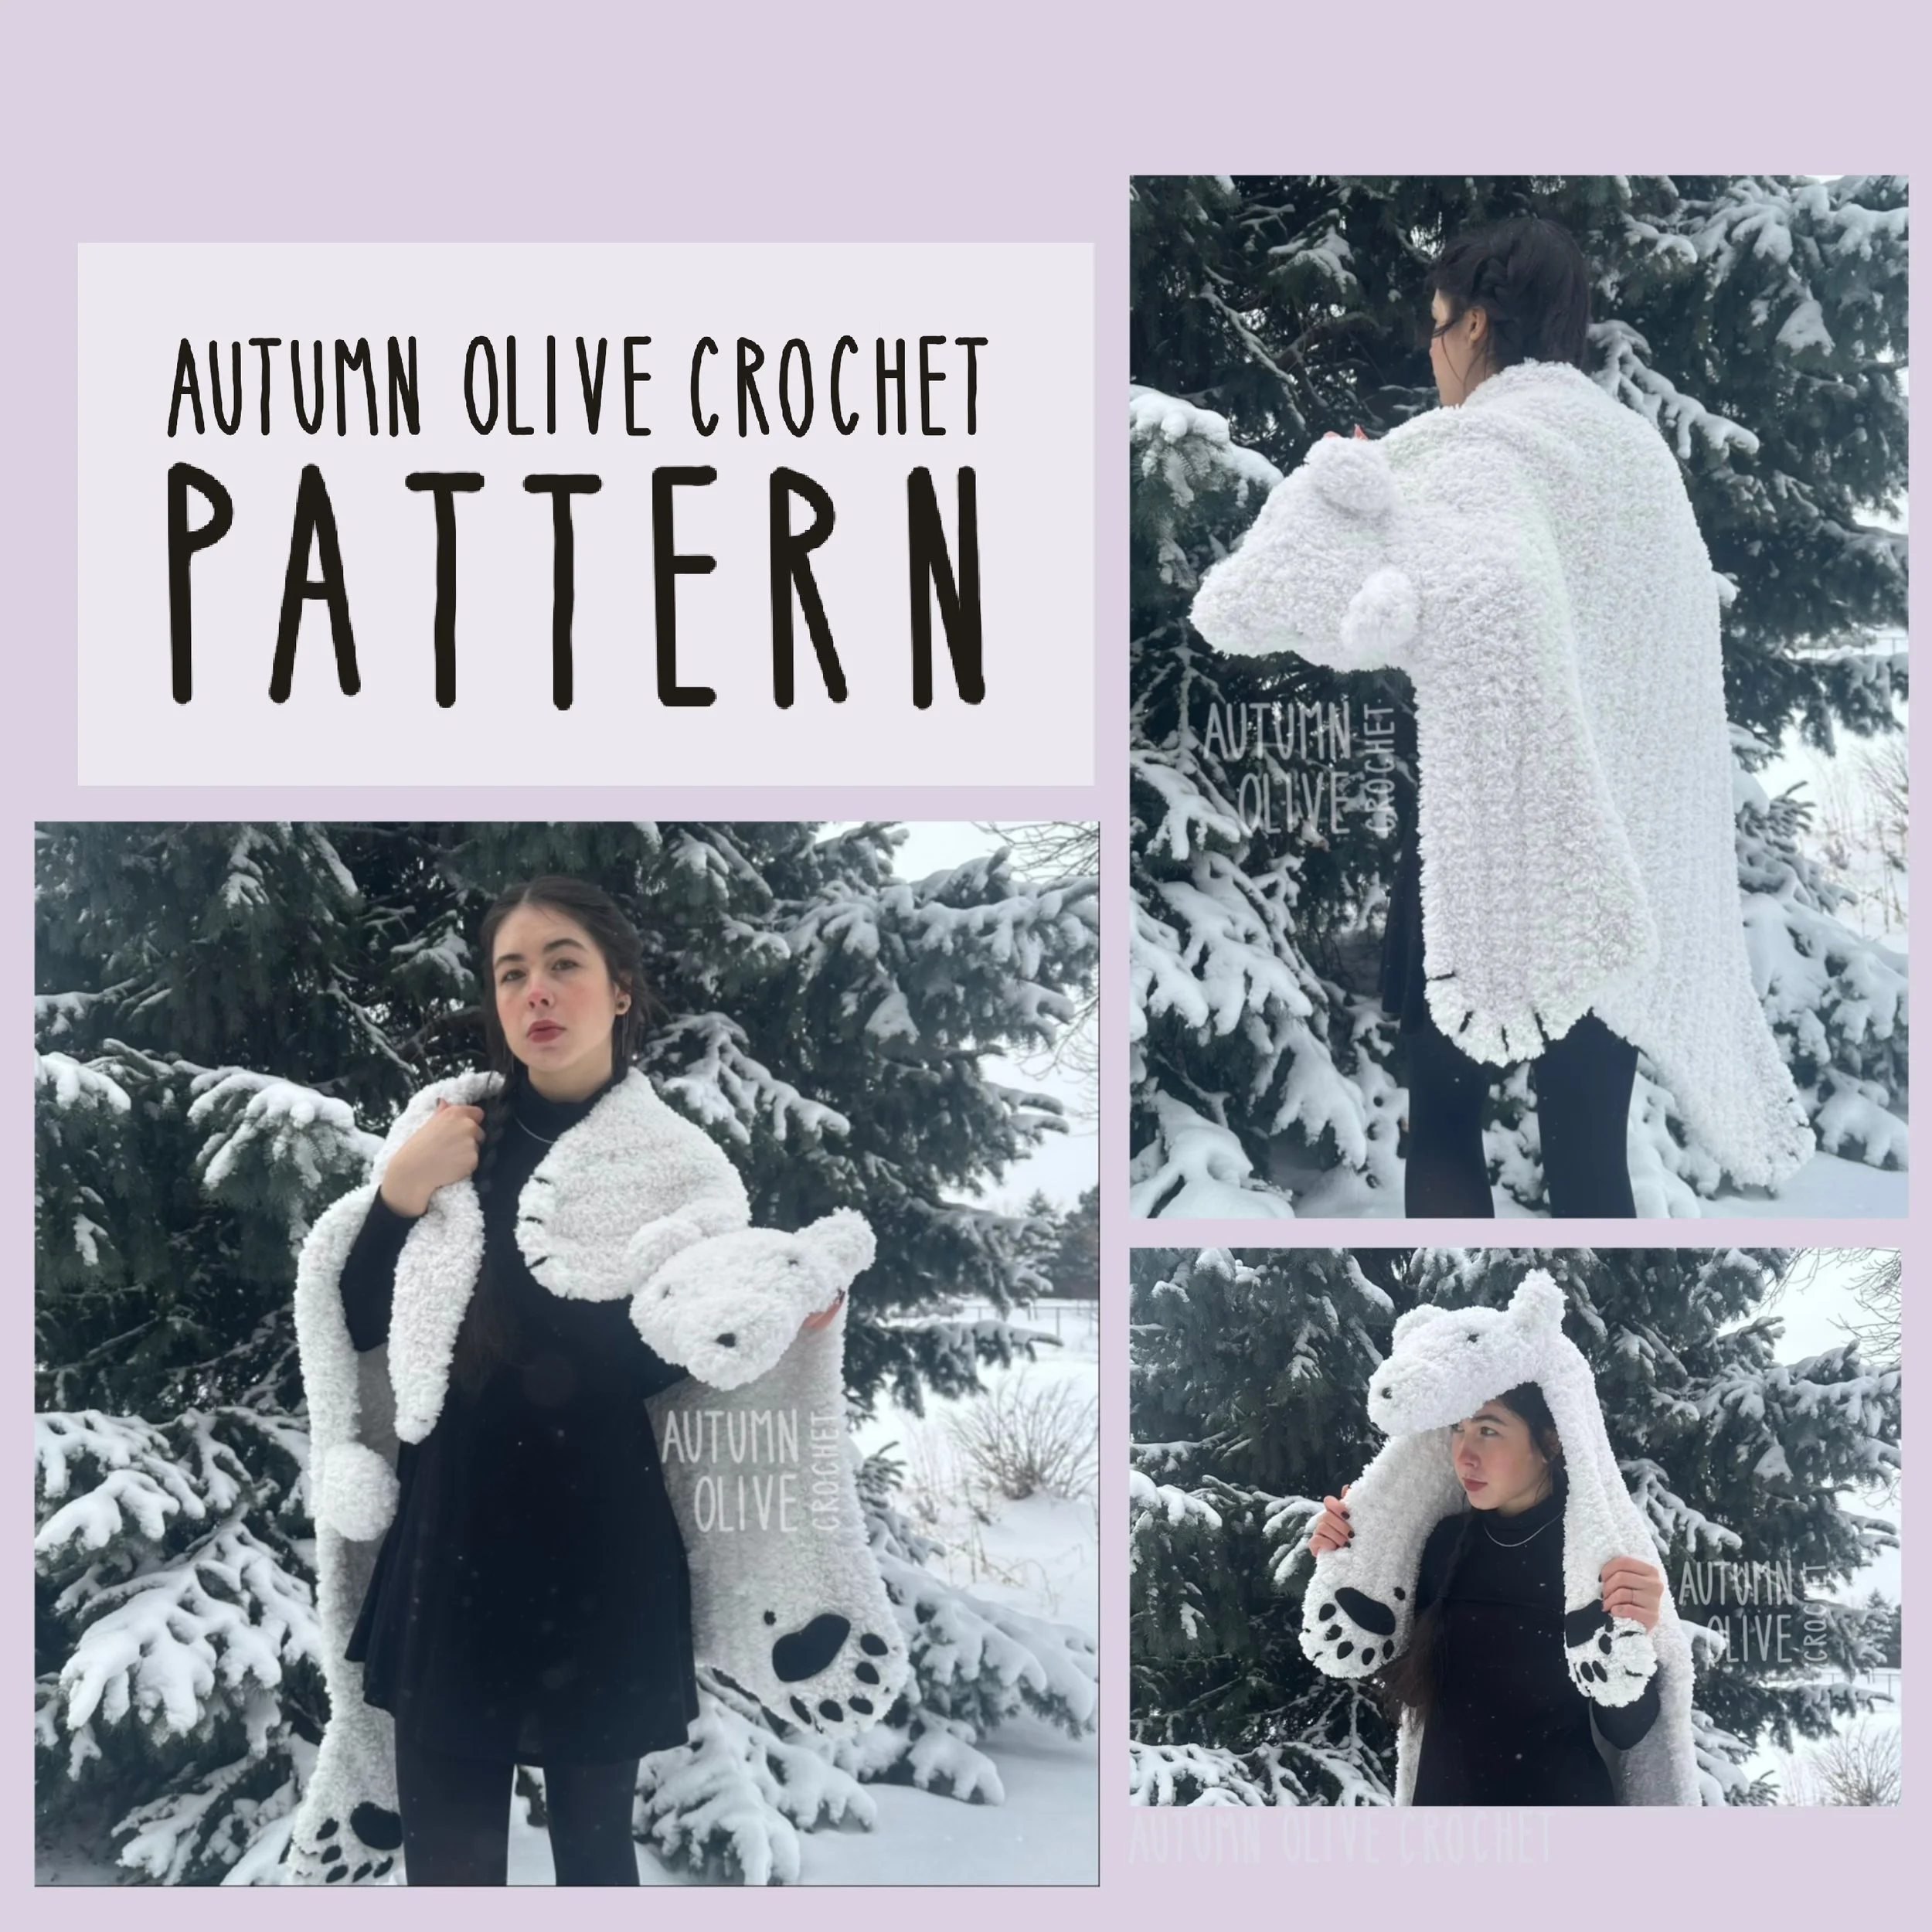
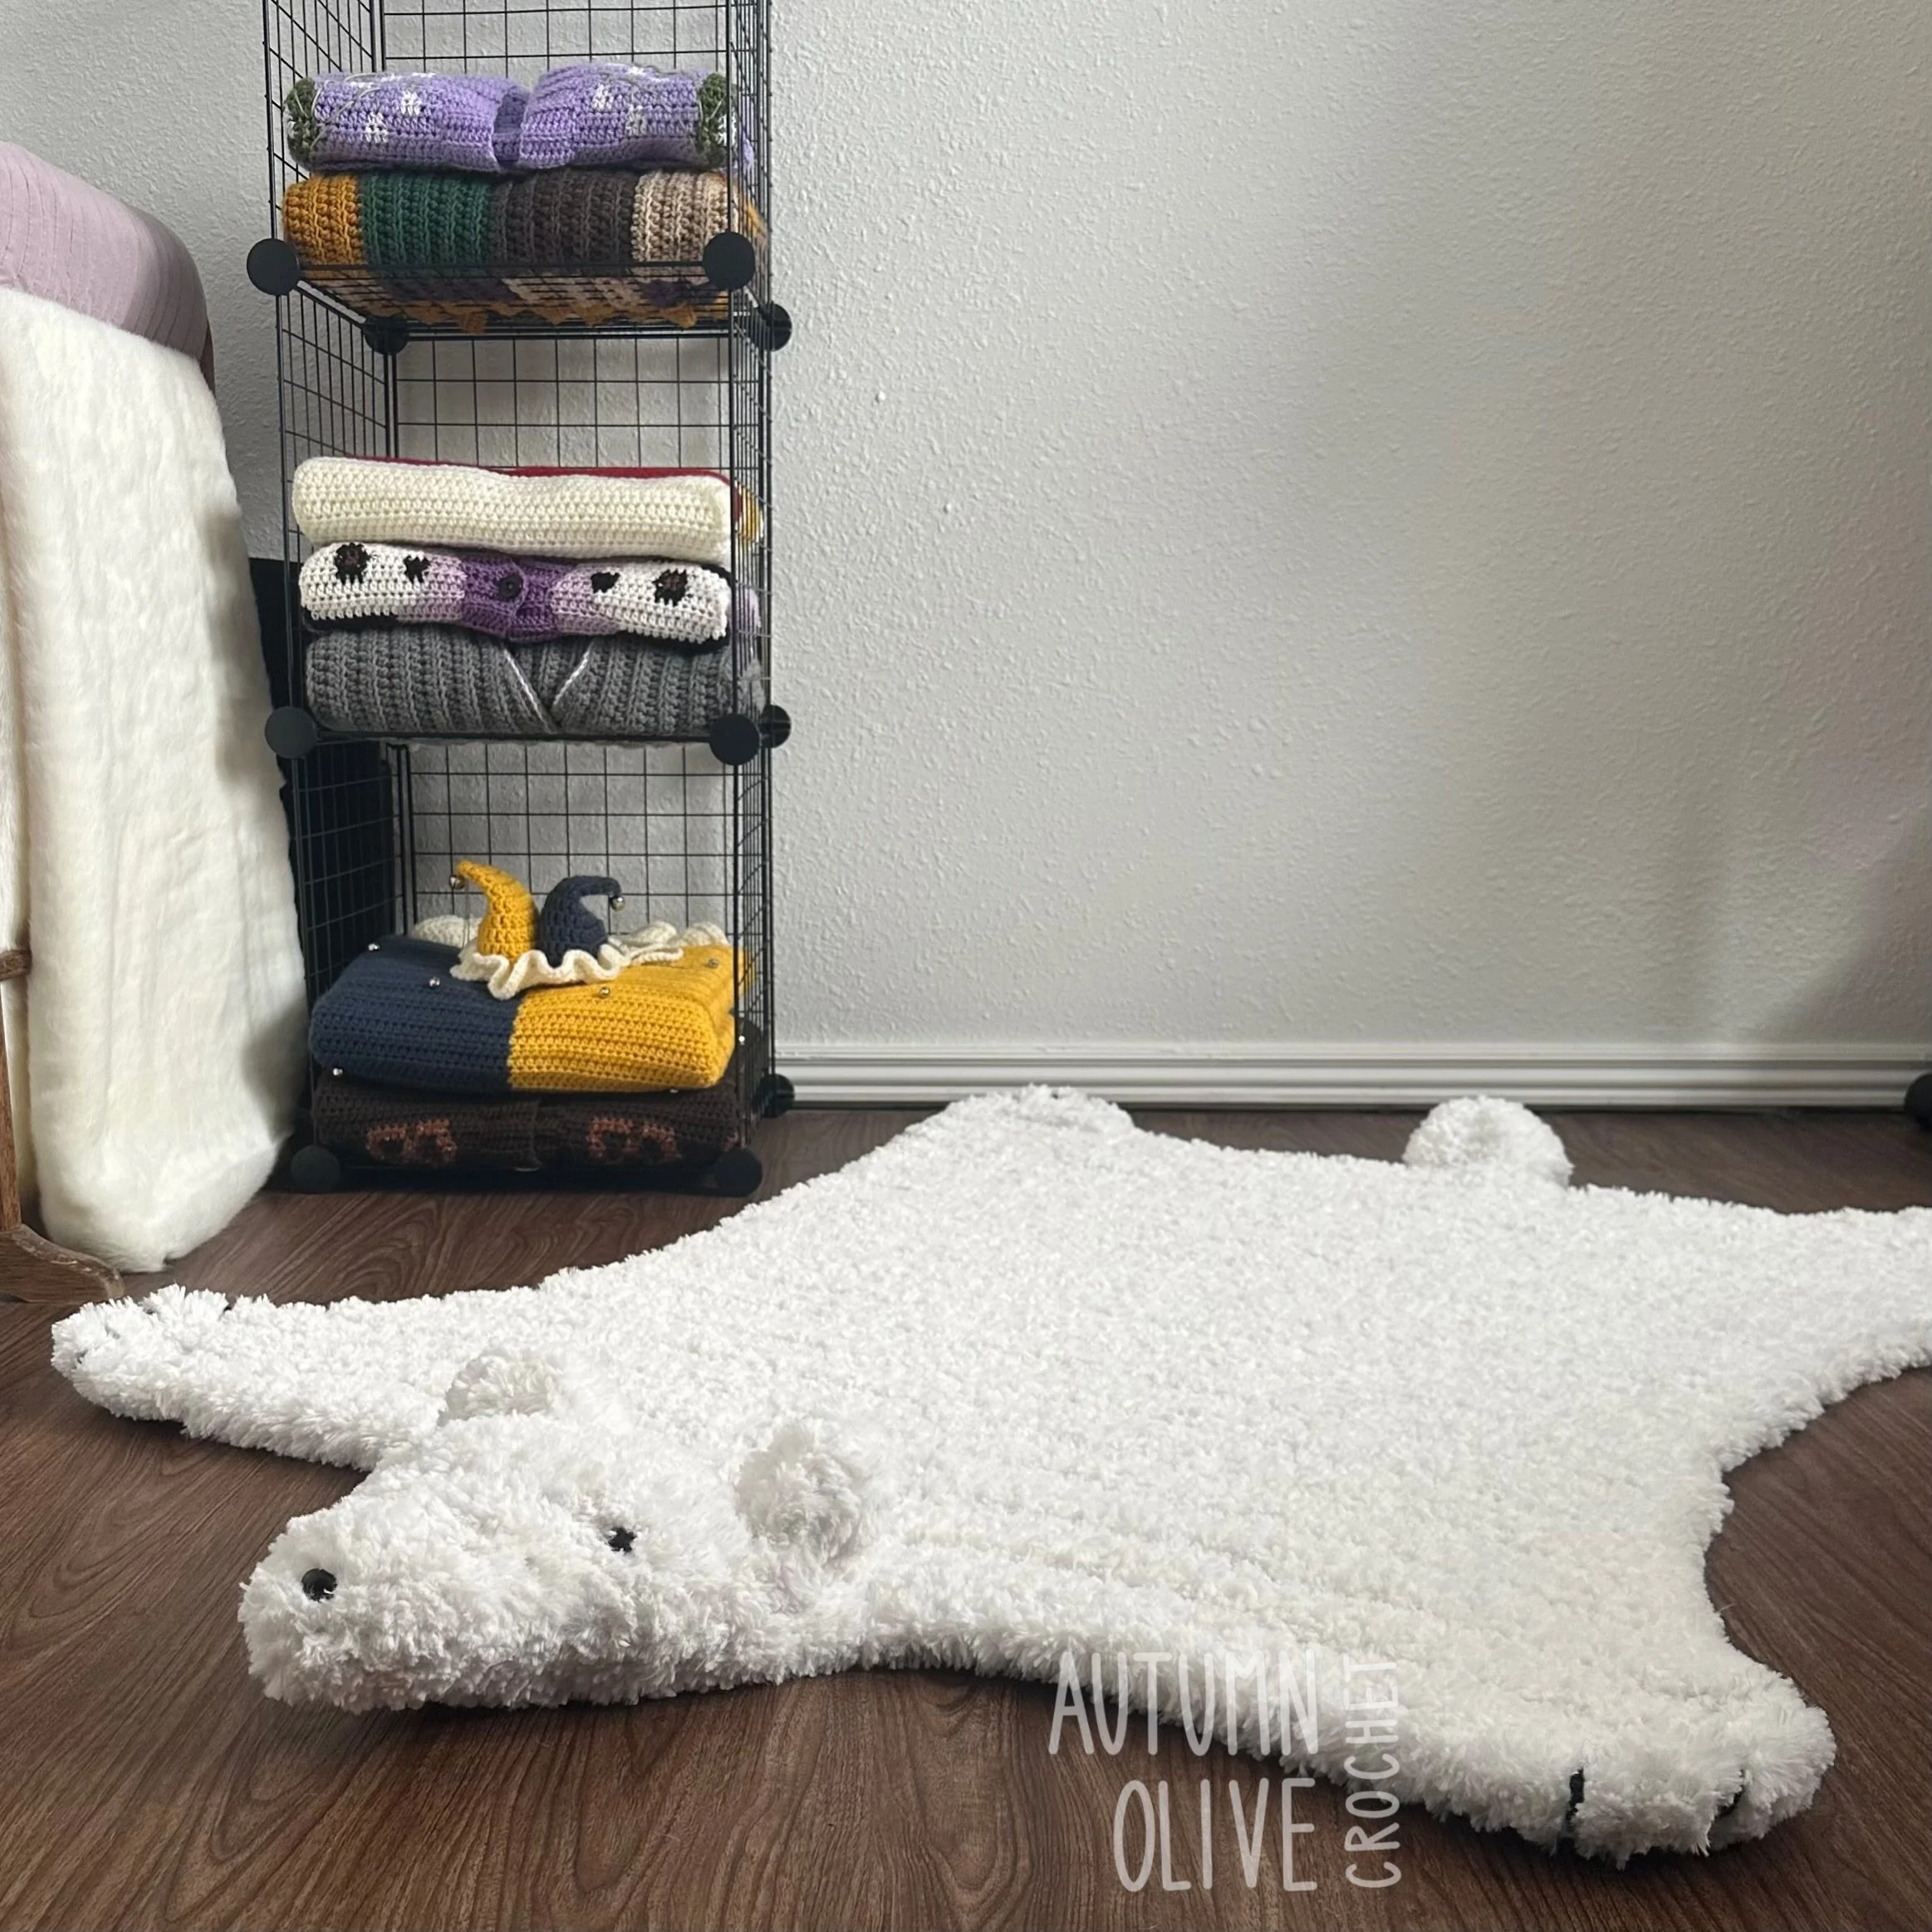
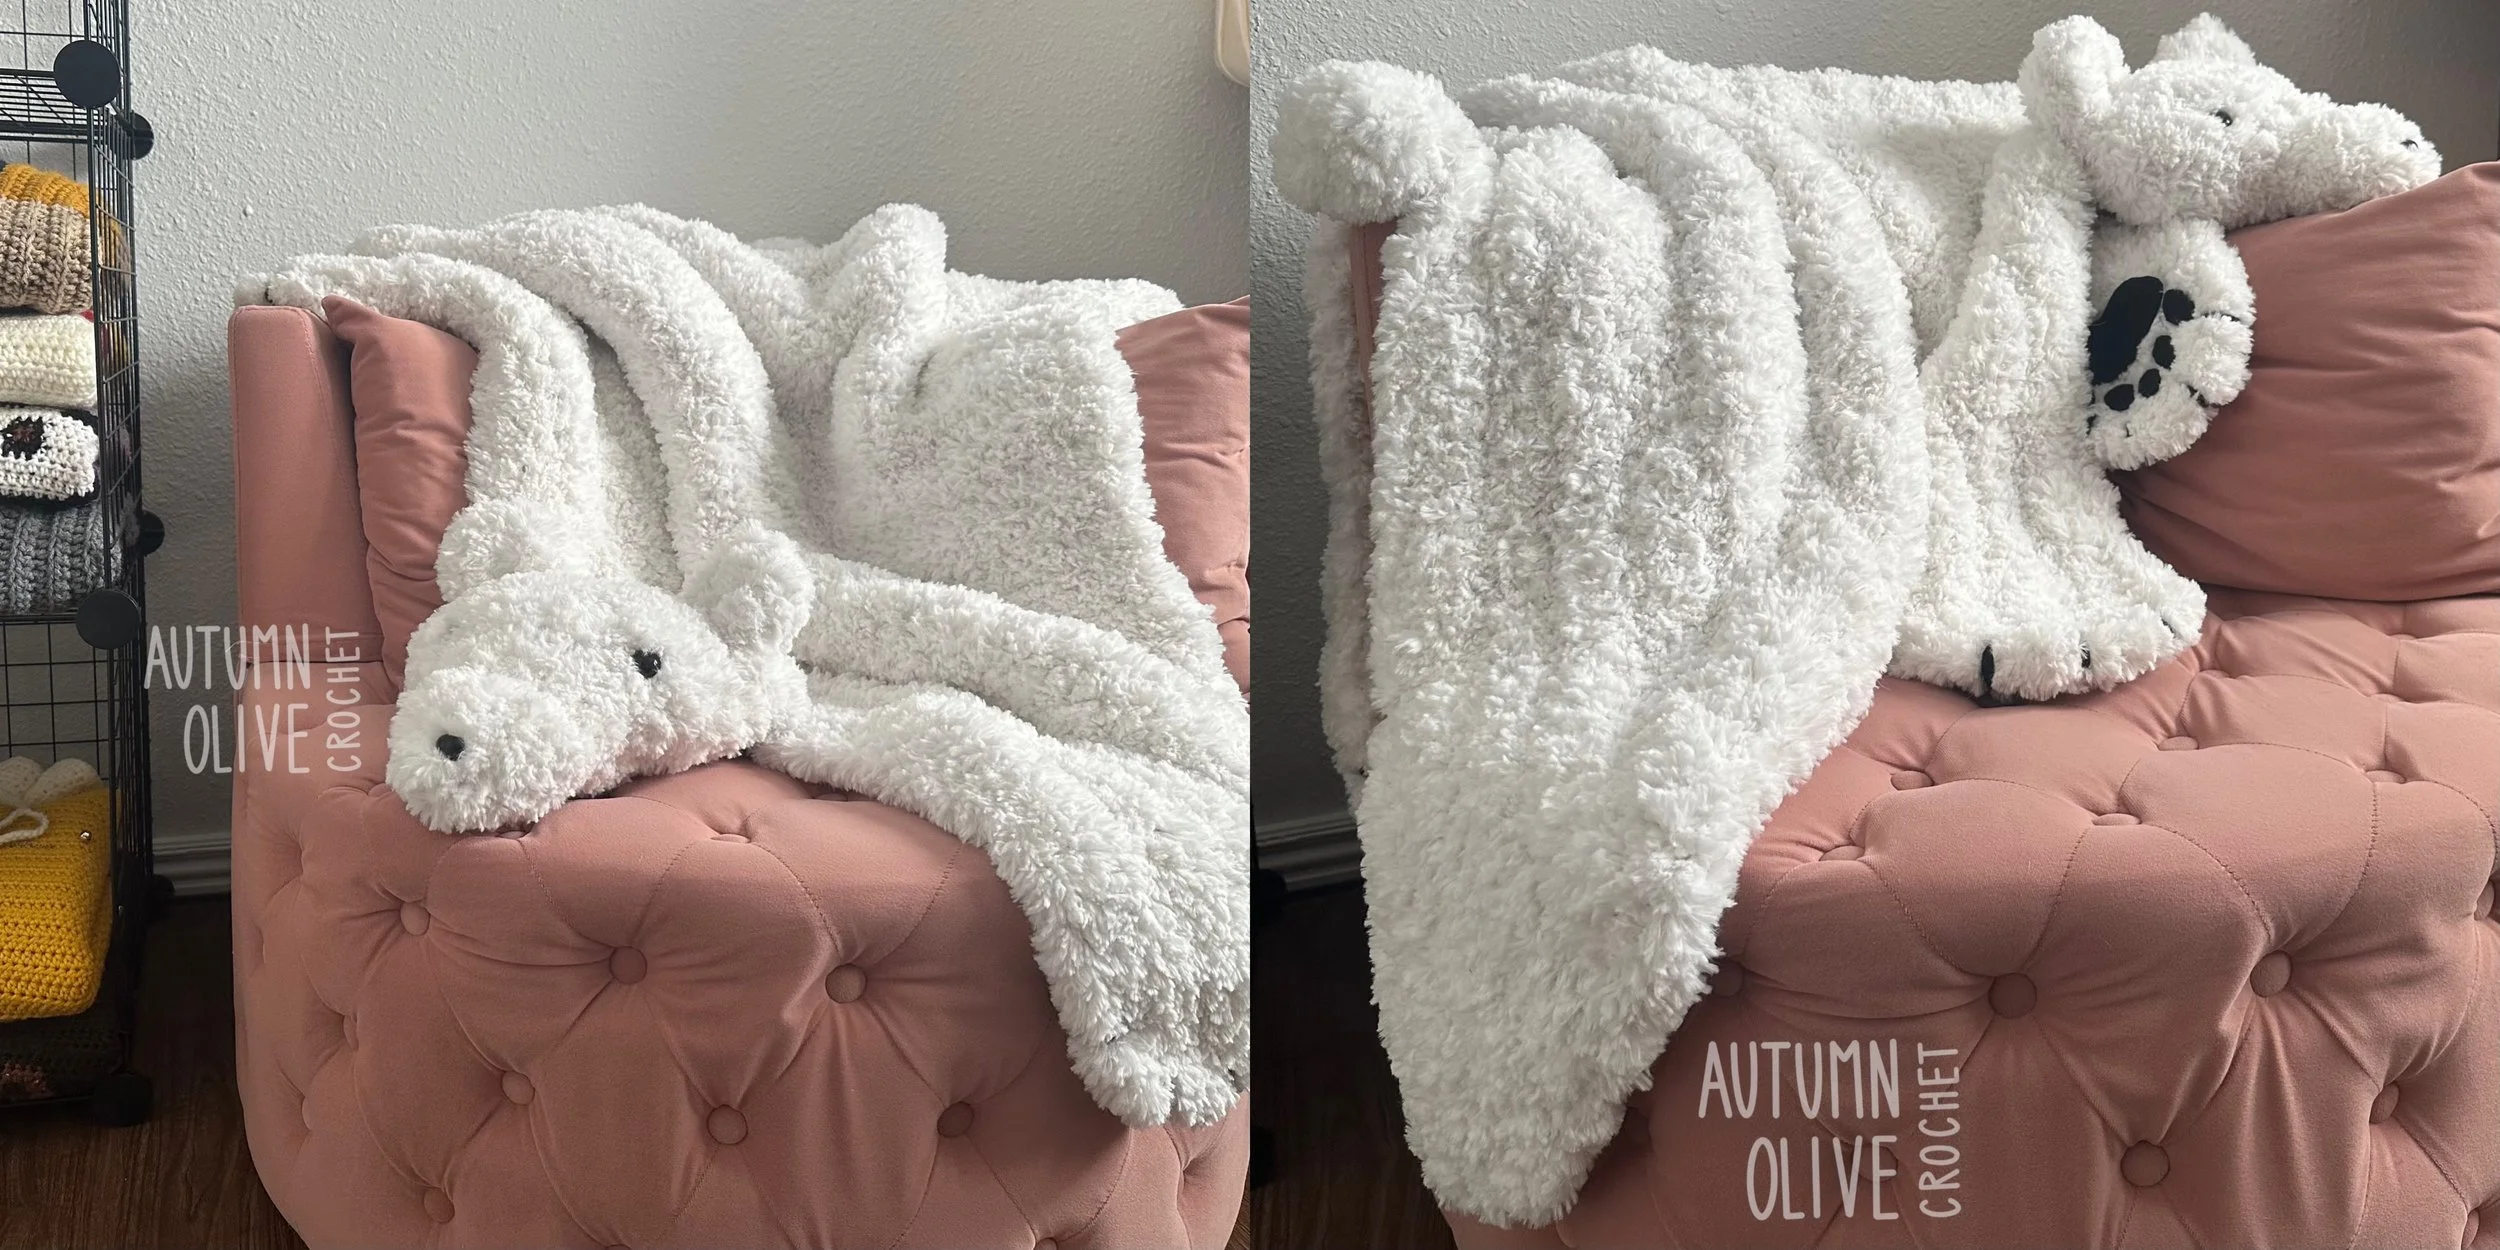
bear fur faux throw ♡
bear could be any color: black or brown . . . blue??
perhaps experiment with color changing to make a panda?
♡ autumn olive crochet original design by autumn olivia ward
♡ written in US crochet terms
please do not copy or redistribute any part of this pattern, including instructions & images, digitally or physically
feel free to sell items made using this pattern ♡ please credit me as the designer in your listings and include the link to this pattern
ad-free PDF download is available for $3.33 | includes paw print-out & link to the diagram to track progress or edit the grid
MATERIALS ♡
super large finishing needle (or 6mm-8mm hook to weave ends and assemble parts)
440 yards of white fur yarn (I used about 8 skeins of loops & threads faux fur in ivory — 10.5oz & 56 yards per skein )
8 yards worsted weight black yarn (for the claws)
1 sheet black felt for the paws
20mm safety eyes (I used eyes with a brown iris)
21mm safety nose (or cut from felt)
scissors
hot glue (or any type of thick glue for the felt)
small amount of poly-fill for the head/tail (or white fabric scraps)
finished fur measures 50” from head to tail with 46” armspan (~40” x 36” smaller area) & weighs about 5 pounds
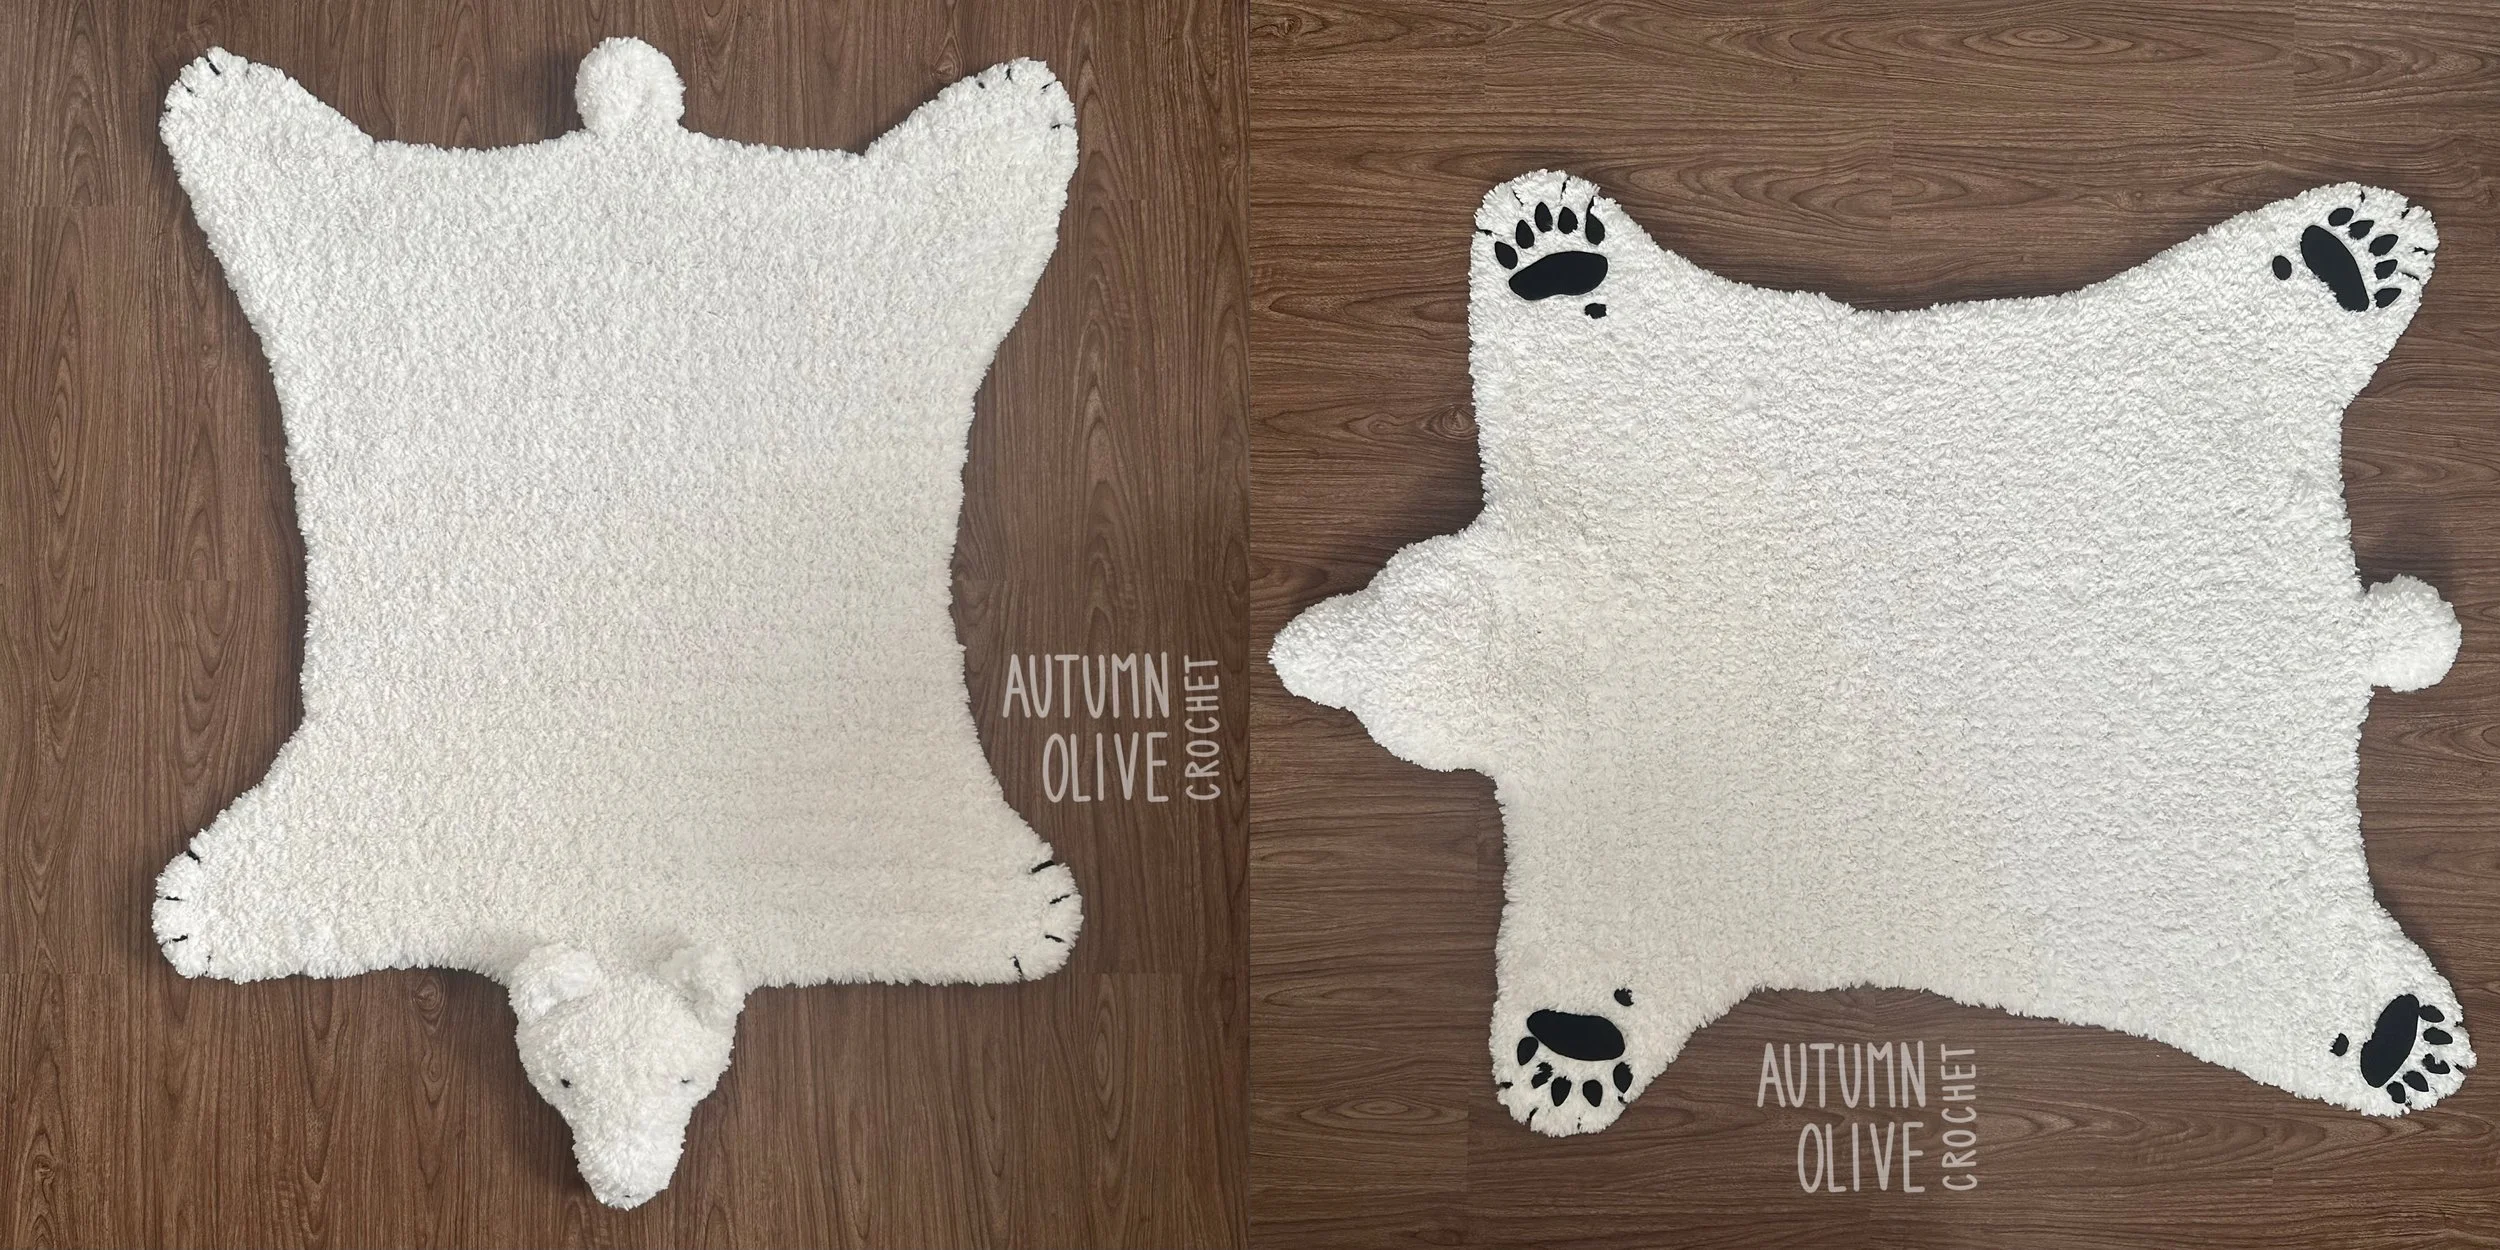
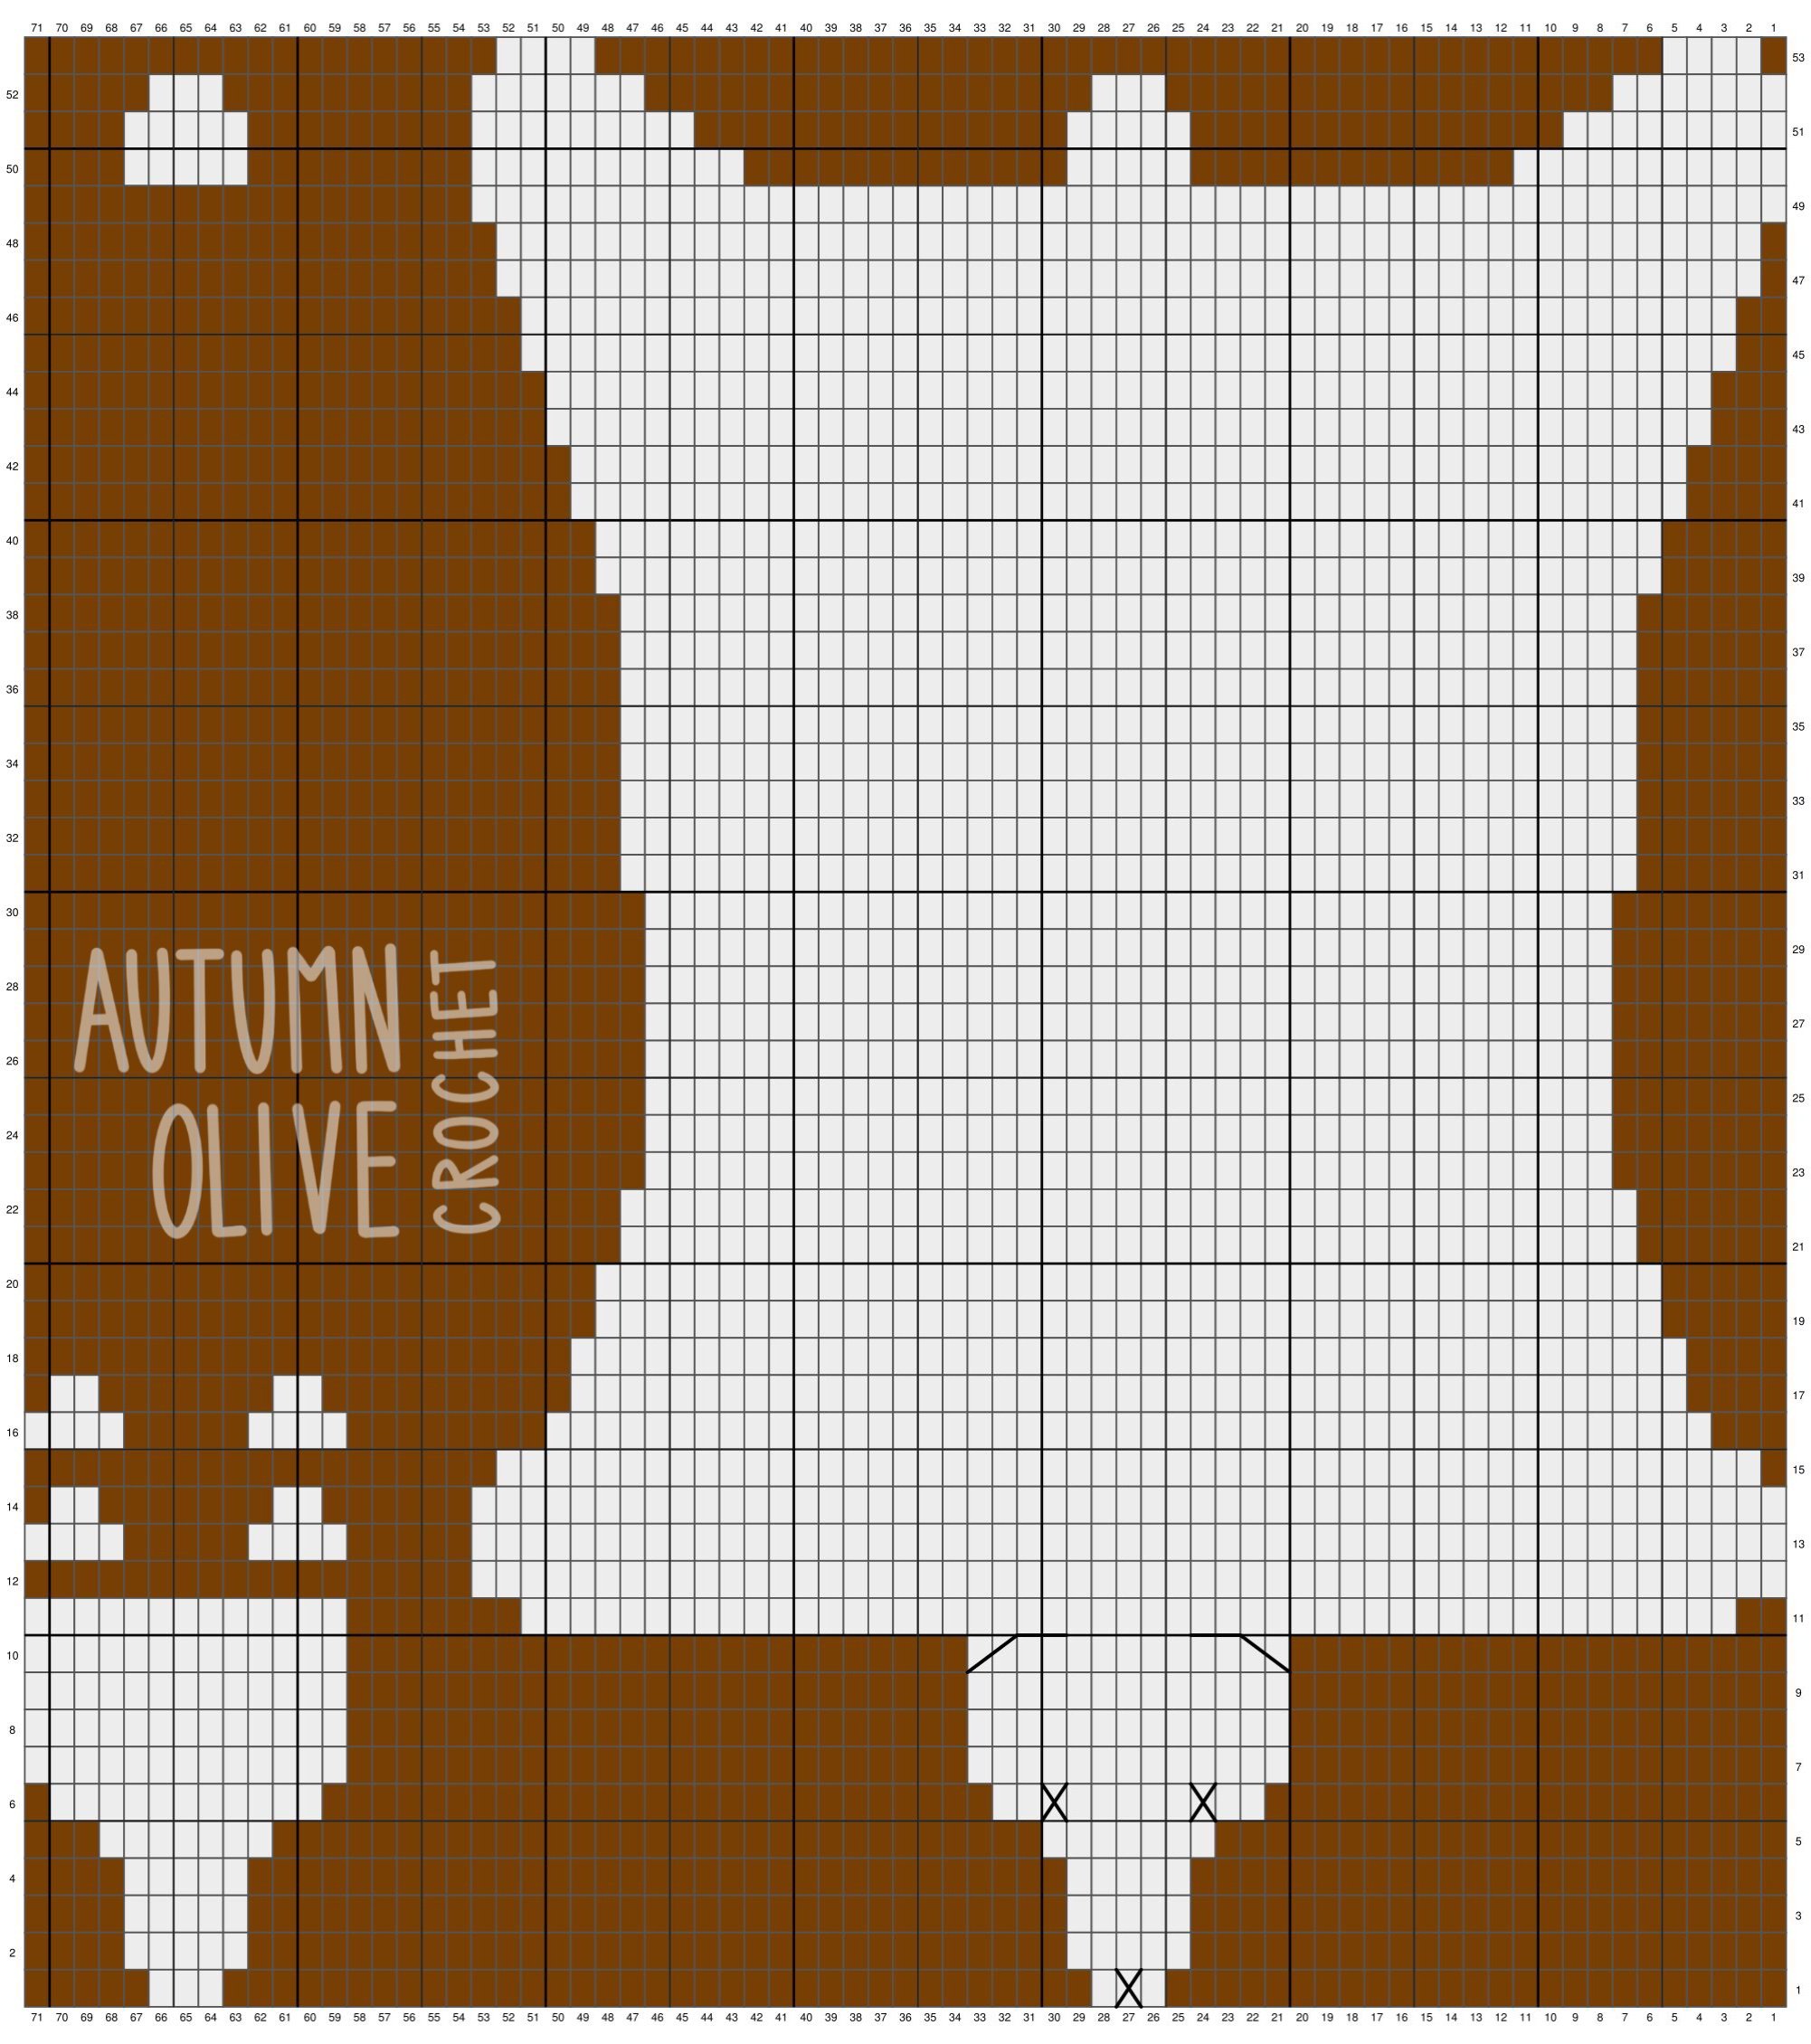
CROCHET THE PELT ♡ odd rows are right side
gauge: super bulky yarn & 15mm hook: 3 rows of 4 hdc = 3” x 3”
fur yarn is kind of difficult to work with and you have to mainly go by feel. I would count your stitches every row and mark your progress every 5 rows or so — at one point I lost count of the increases and thought I had too many rows but couldn't see what row I was on so I had to frog back several rows
I started at the bottom of each piece and increased/decreased to match the grid. you can visit my free instructional guide on crocheting a grid as a flat appliqué if you need more information on foundation hdc!
the bear is one layer besides the chin & tail which get attached and stuffed; an alternative idea is to make an entire second pelt to attach & stuff into a HUGE bear pillow :)
white chin piece:
chain 4, working into the second chain from the hook
row 1: hdc across (3) chain 1, turn
row 2: increase, hdc into next, increase (5) chain 1, turn
rows 3—4: hdc across (5) chain 1, turn
row 5: increase, hdc into next 3, increase (7) chain 1 turn
row 6: increase, increase, hdc into next 3, increase, increase (11) chain 1 turn
row 7: increase, hdc into next 9, increase, (13) chain 1, turn
rows 8—10: hdc across (13) chain 1, turn
row 11: hdc across (13)
fasten off with enough to attach around (about 20”) & set aside
white tail piece:
chain 6, working into the second chain from the hook
row 1 : hdc across (5) chain 1, turn
row 2: hdc across (5) chain 1, turn
row 3: decrease, hdc into next, decrease (3)
fasten off with enough to attach around (about 12”) & set aside
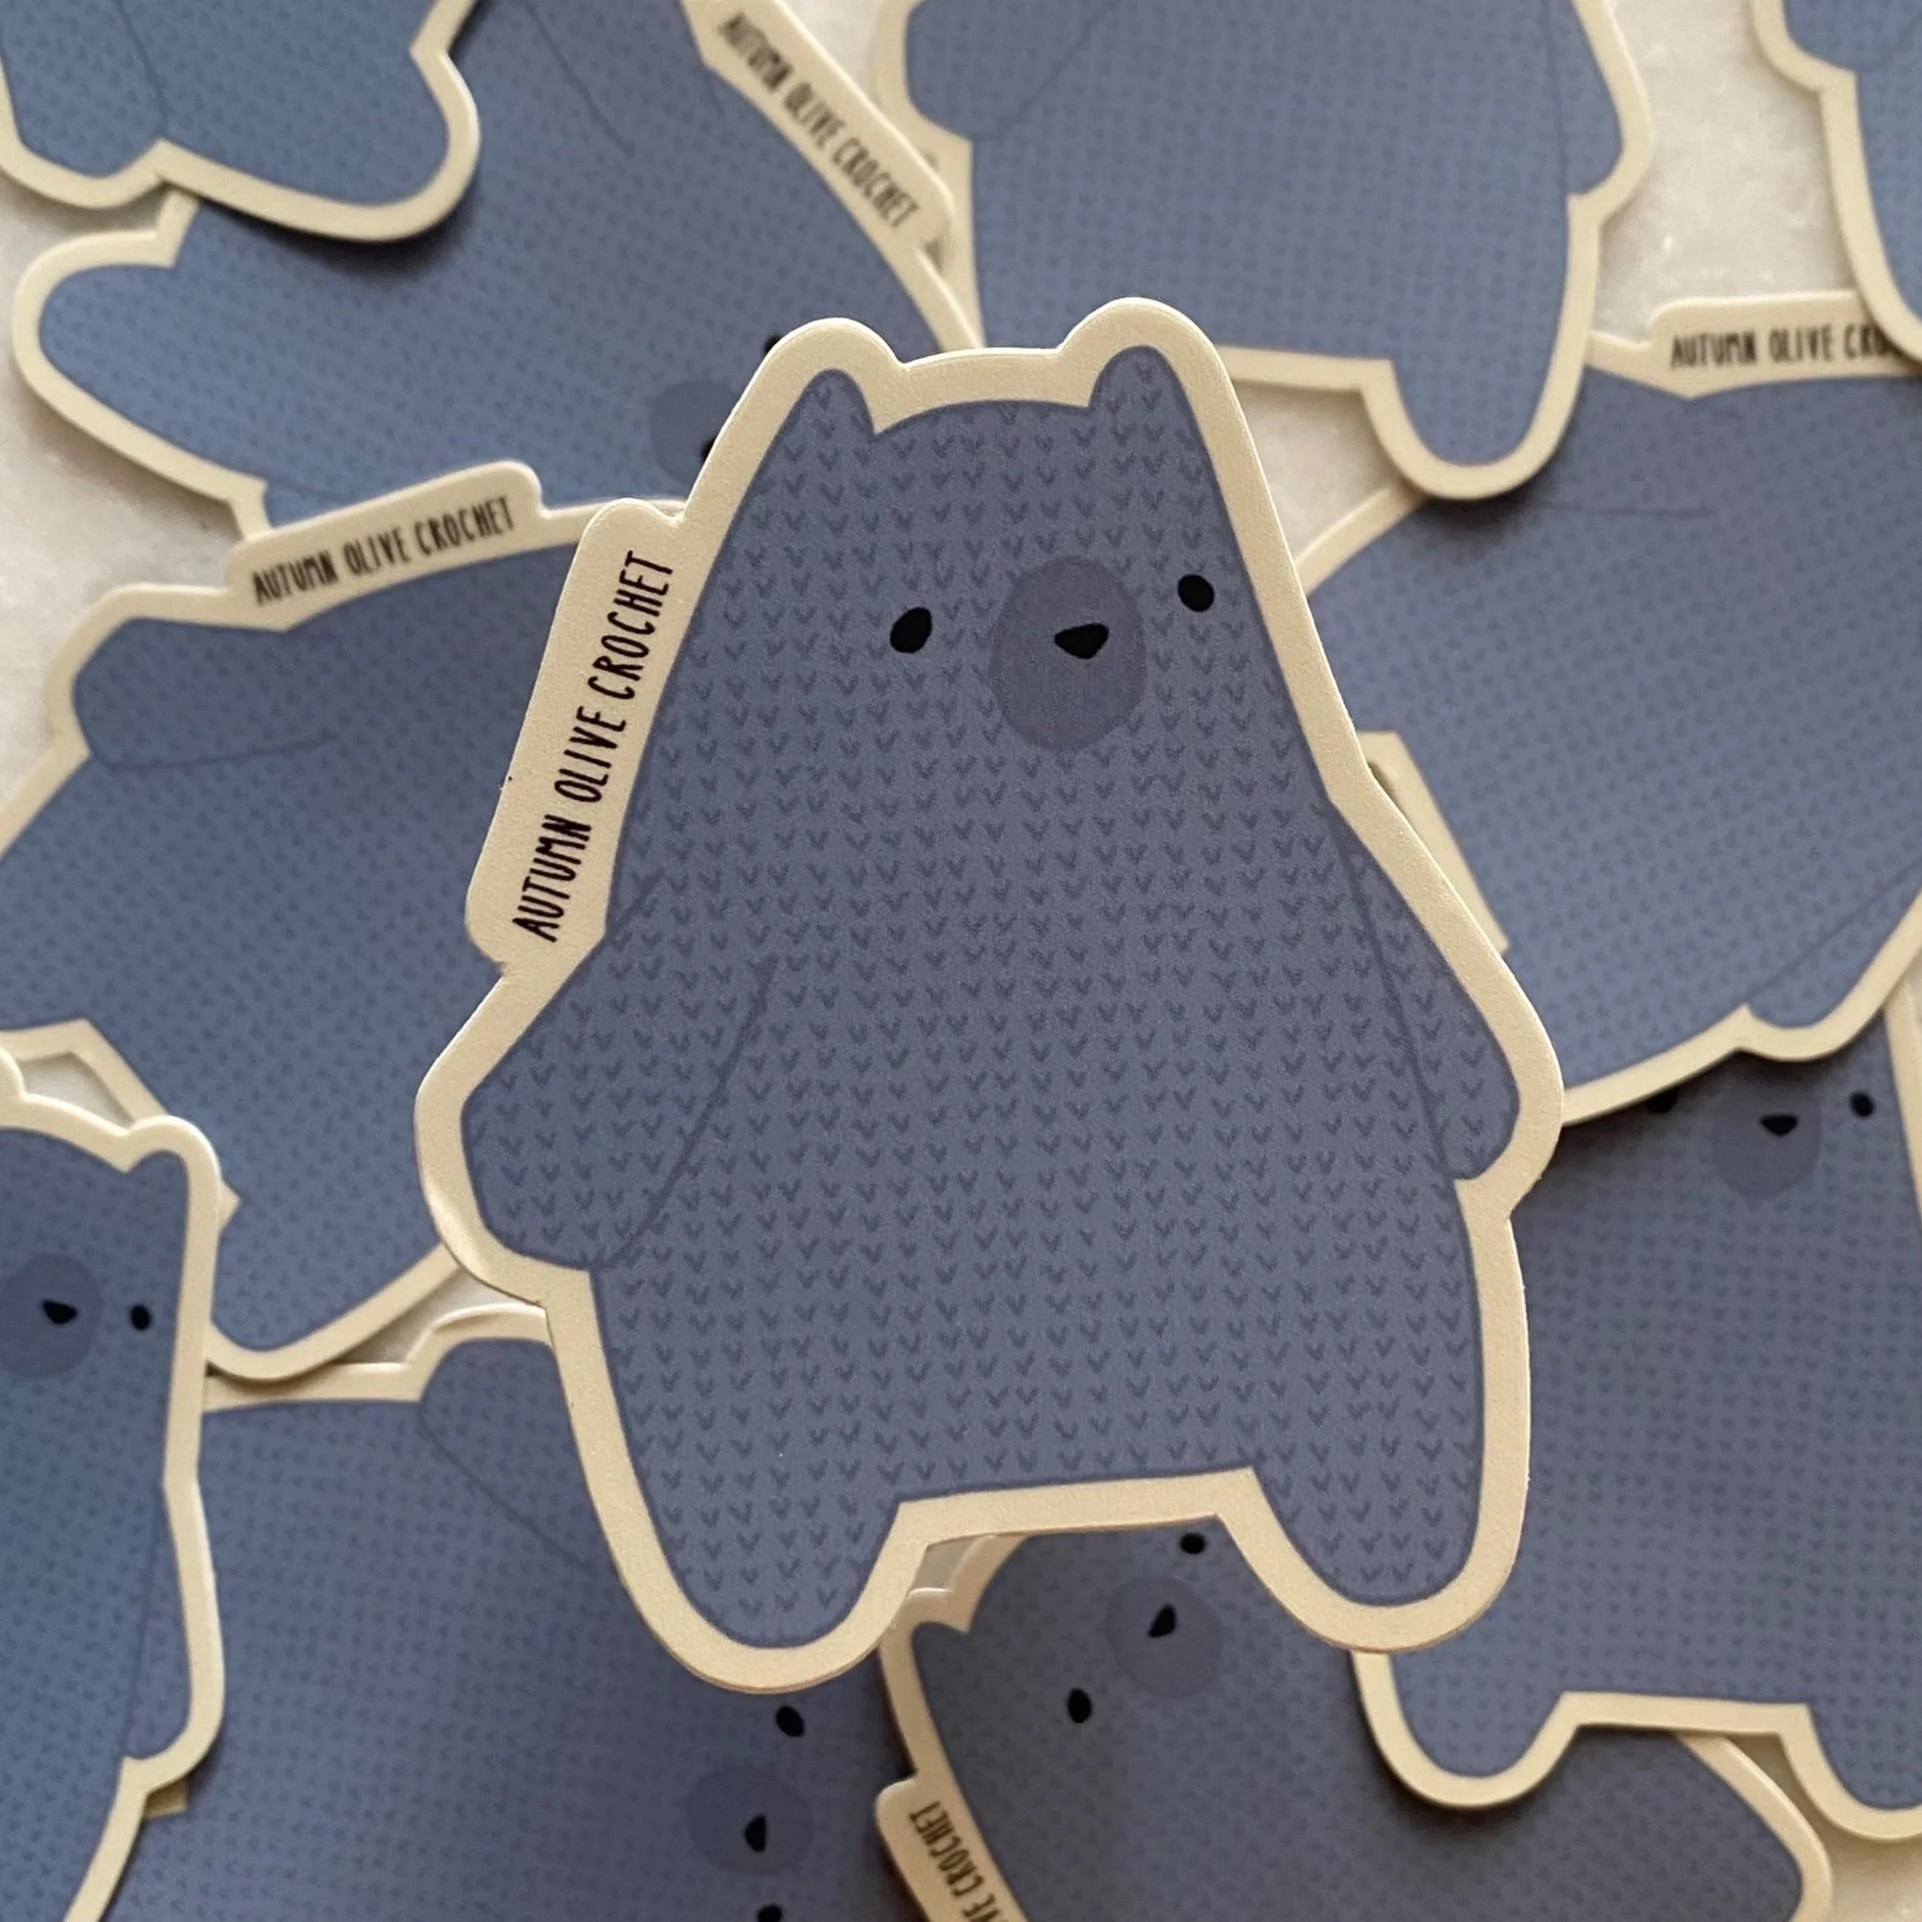
shop my crochet blue bear sticker design
full body fur:
chain 4, working into the second chain from the hook
row 1: hdc across (3) chain 1, turn
row 2: increase, hdc into next, increase (5) chain 1, turn
rows 3—4: hdc across (5) chain 1, turn
row 5: increase, hdc into next 3, increase (7) chain 1 turn
row 6: increase, increase, hdc into next 3, increase, increase (11) chain 1 turn
row 7: increase, hdc into next 9, increase, (13) chain 1, turn
rows 8—9: hdc across (13) chain 1, turn
row 10: hdc across (13) chain 19, turn (skip first chain as turning chain)
row 11: hdc across 18 chains, hdc across 13 stitches of row 10, use foundation hdc to make 18 additional stitches (49) chain 1, turn
row 12: increase, increase, hdc across until then last two stitches, increase, increase (53) chain 1, turn
rows 13-14: hdc across (53) chain 1, turn
row 15: decrease, hdc across until the last two stitches, decrease (51) chain 1, turn
row 16: decrease, decrease, hdc across until the last four stitches, decrease, decrease (47) chain 1, turn
row 17: decrease, hdc across until the last two stitches, decrease (45) chain 1, turn
row 18: hdc across (45) chain 1, turn
row 19: decrease, hdc across until the last two stitches, decrease (43) chain 1, turn
row 20: hdc across (43) chain 1, turn
row 21: decrease, hdc across until the last two stitches, decrease (41) chain 1, turn
row 22: hdc across (41) chain 1, turn
row 23: decrease, hdc across until the last two stitches, decrease (39) chain 1, turn
rows 24—30: hdc across (39) chain 1, turn
row 31: increase, hdc across, increase (41) chain 1, turn
rows 32—38: hdc across (41) chain 1, turn
row 39: increase, hdc across, increase (43) chain 1, turn
row 40: hdc across (43) chain 1, turn
row 41: increase, hdc across, increase (45) chain 1, turn
row 42: hdc across (45) chain 1, turn
row 43: increase, hdc across, increase (47) chain 1, turn
row 44: hdc across (47) chain 1, turn
row 45: increase, hdc across, increase (49) chain 1, turn
row 46: hdc across (49) chain 1, turn
row 47: increase, hdc across, increase (51) chain 1, turn
row 48: hdc across (51) chain 1, turn
row 49: increase, hdc across, increase (53) chain 1, turn
row 50a: (hind leg) hdc into first 11 stitches (11) chain 1, turn
row 51a: decrease, decrease, hdc into next 7 stitches (9) chain 1, turn
row 52a: hdc into first 5 sitches, decrease, decrease (7) chain 1, turn
row 53a: decrease, decrease, hdc into next, decrease (4) cut yarn & fasten off
turn bear back over to the wrong side, pull up a loop 12 stitches away from the left edge
row 50b: hdc into next 11 stitches (11) chain 1, turn
row 51b: hdc into first 7 stitches, decrease, decrease (9) chain 1, turn
row 52b: decrease, decrease, hdc into next 5 sitches (7) chain 1, turn
row 53b: decrease, hdc into next, decrease, decrease (4) cut yarn & fasten off
for the tail: turn bear back over to the wrong side, pull up a loop 13 stitches away from the first hind leg, chain 1 & begin working into that same stitch
row 50c: hdc 5, chain 1, turn
row 51c: hdc across (5) chain 1, turn
row 52c: decrease, hdc into next, decrease (3) cut yarn & fasten off
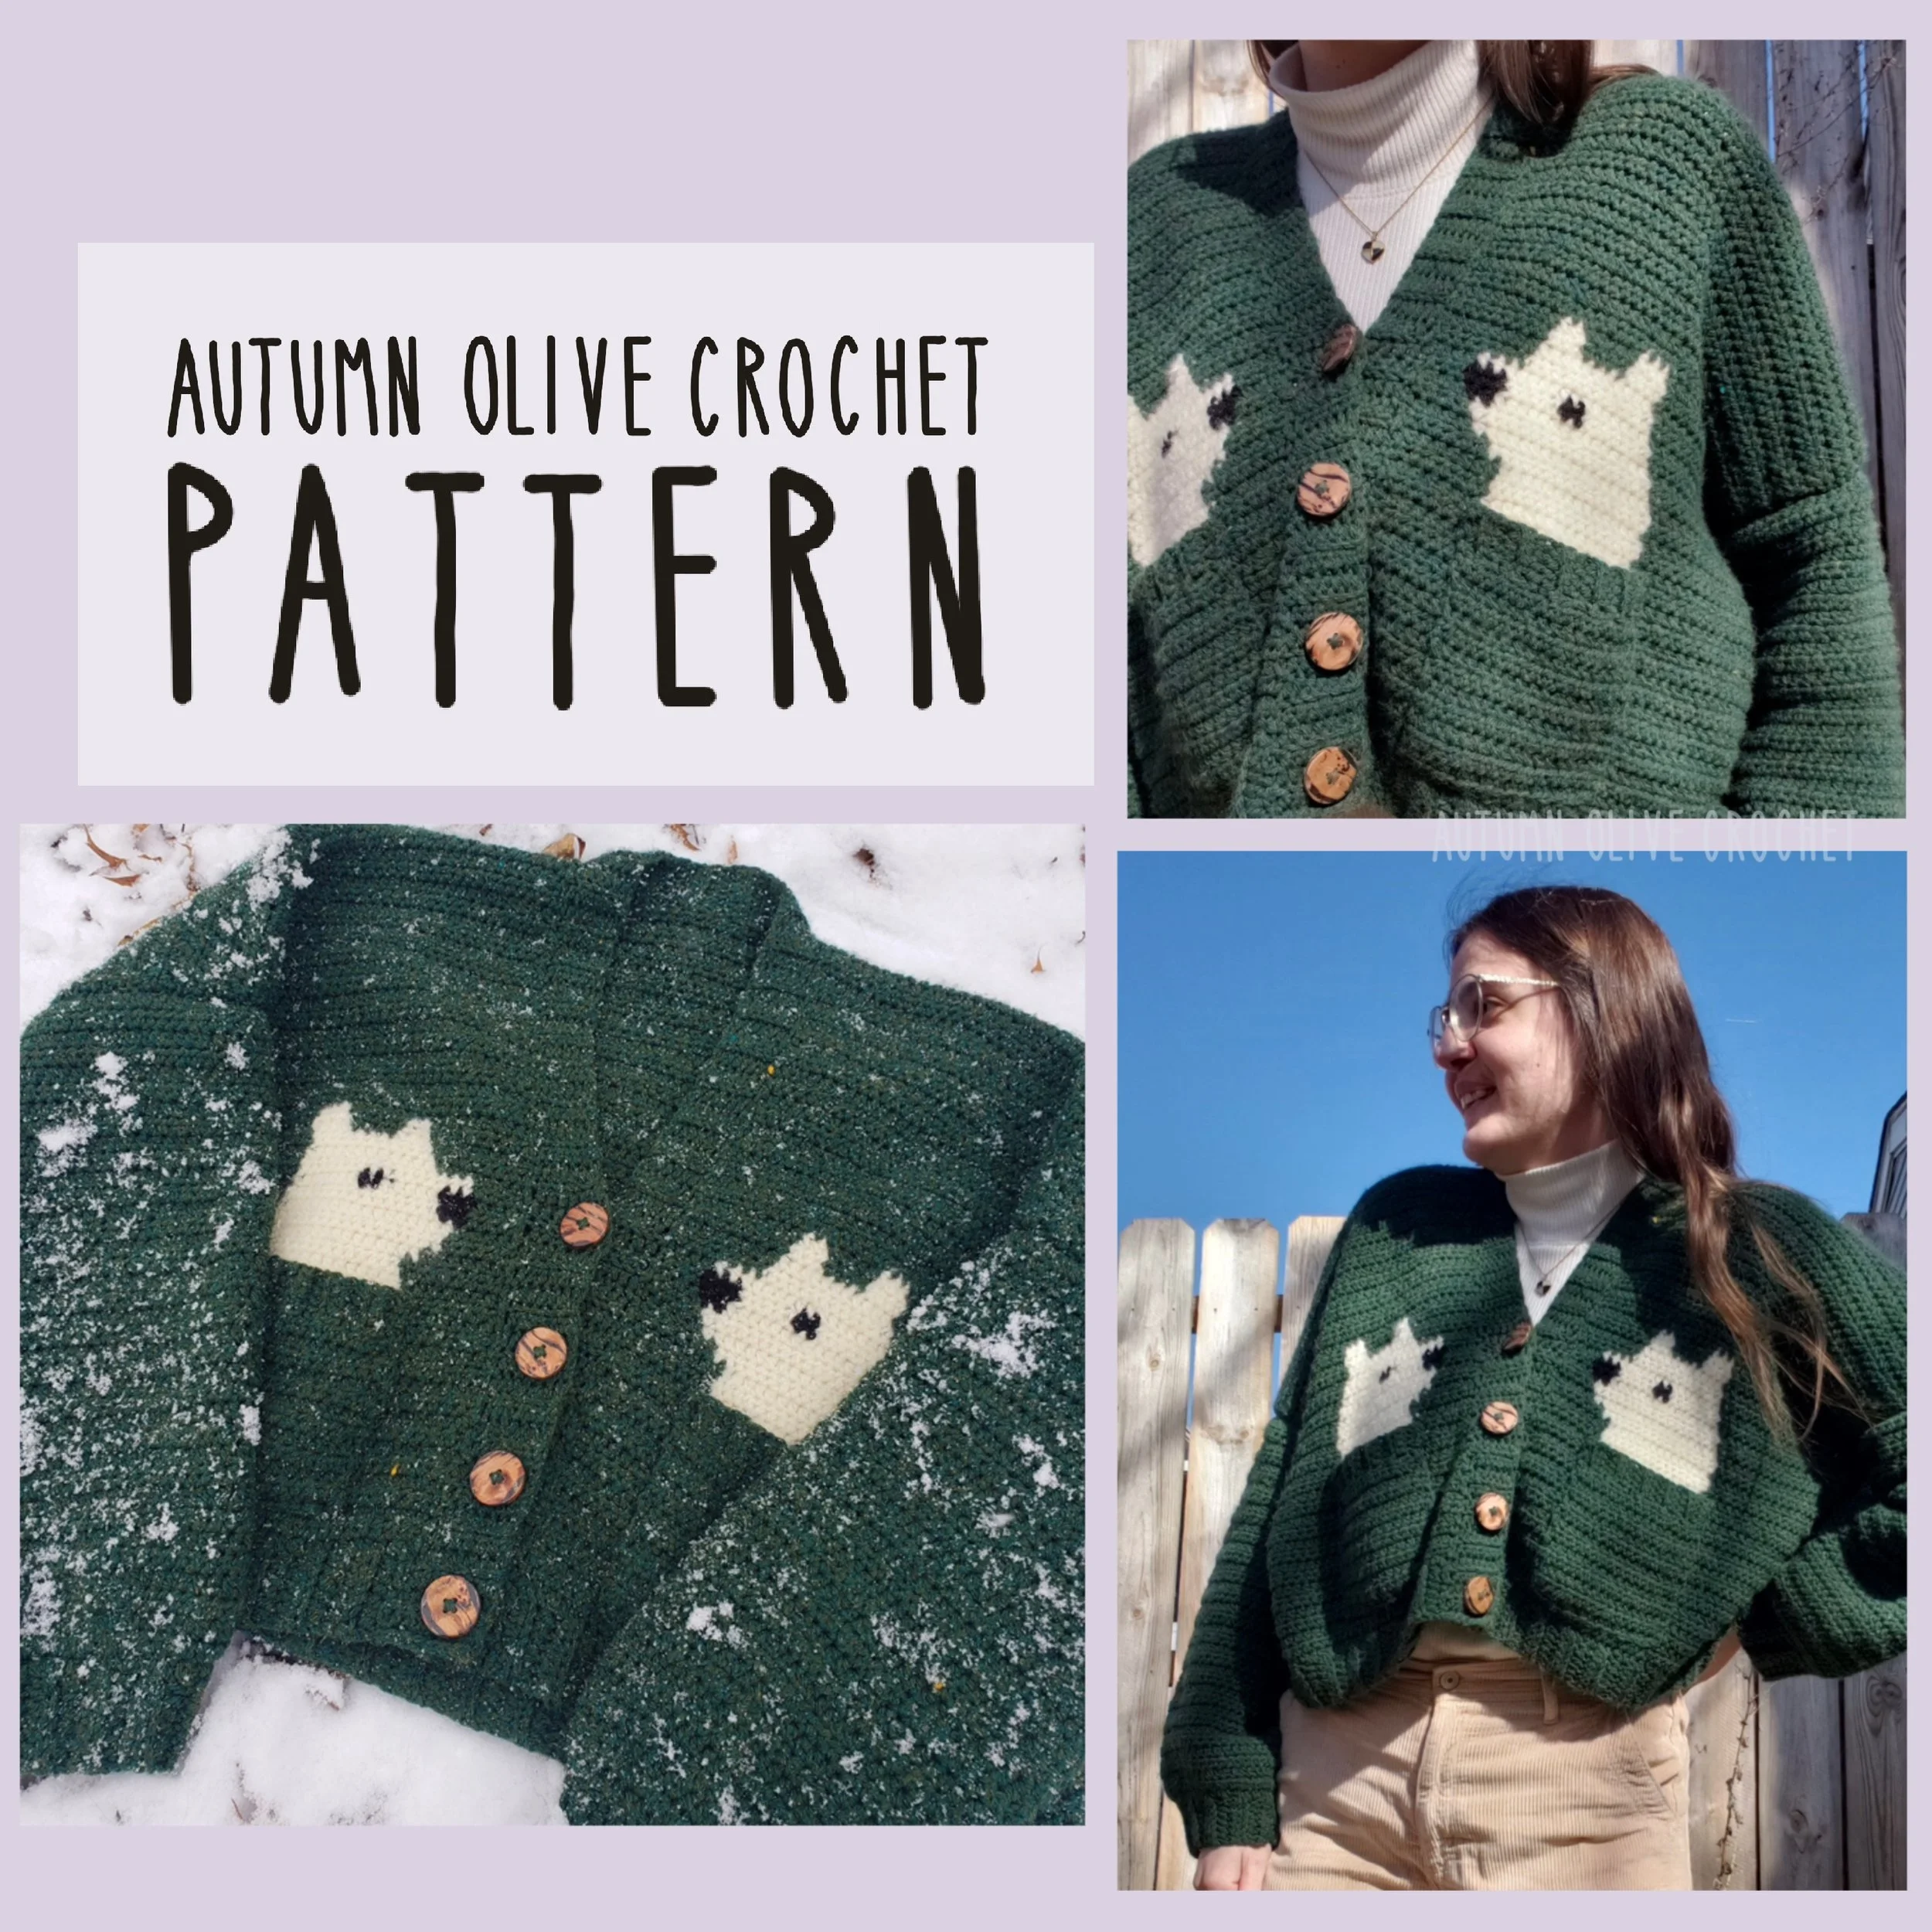
make a polar bear cardigan with lions, tigers & bears cardigans pattern
cardigan by @liz.arts.n.crafts (instagram)
ASSEMBLY ♡
lay the white tail piece under the main tail & whipstitch them together using the yarn of the loose tail piece
seam through the edge of both pieces all the way around and add a little stuffing before finishing
do the same for the chin fur; add eyes & nose where indicated with X on the graph (before stuffing if they have a backing that goes on the inside)

EARS ♡
make 4
chain 5, working into the second chain from the hook
row 1: hdc across (4) chain 1, turn
row 2: decrease, decrease (2) fasten off with about 10” end
lay each pair of ears on top of each other; use the end on one piece from each pair to connect the ears together, seaming around the top stitches
use the end on each other piece to attach them to the head where indicated, along the bottoms, with a slight bend so they cast an inner shadow
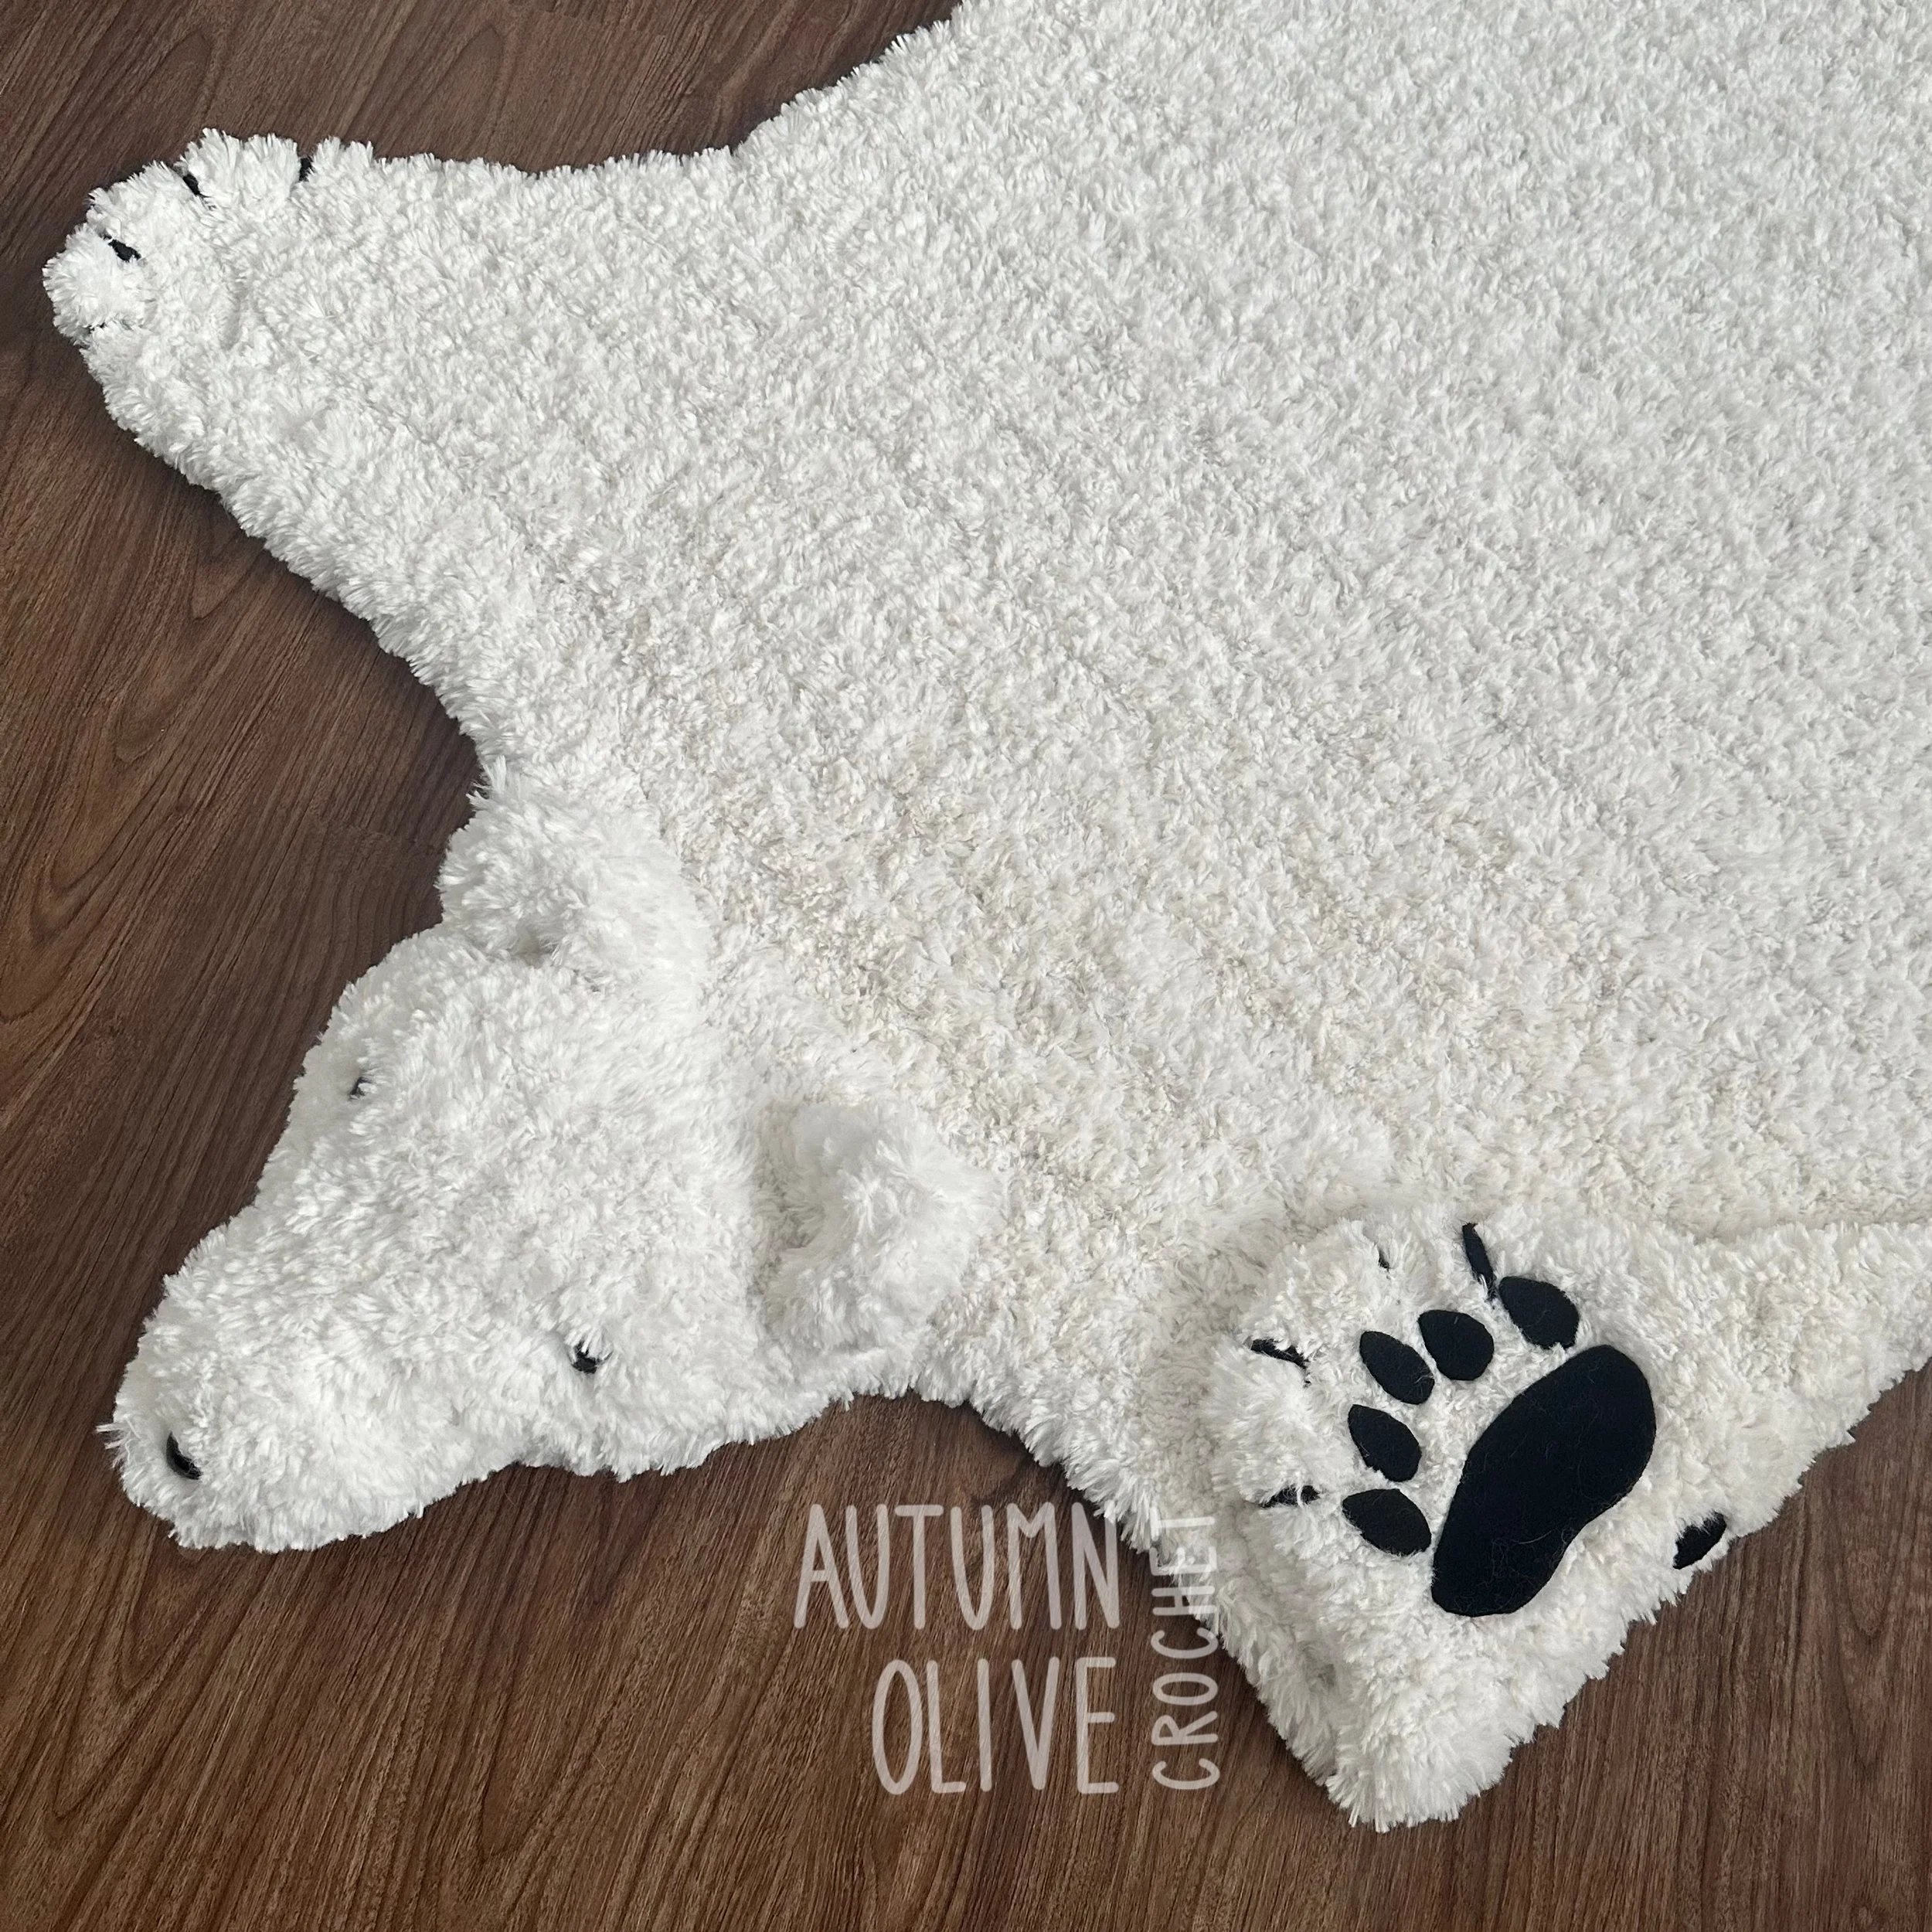
ADD THE PAW DETAILS ♡
cut out paw pad pieces of felt and hot glue them onto the bottoms of the feet; use glue sparingly so it doesn’t seep through the top of the foot
use a long piece of black yarn (about 2 yards) to add a claw between the first two toes, wrapping around the stitches 1-3 times, then feed the yarn through the next couple of stitches to hide it; repeat across
rather than weaving in the black yarn which would be hard to hide in white fur, I hot glued it to itself on the bottom of the claw then trimmed off the excess
FINISHED ♡ thank you!
please tag @autumnolivecrochet if you post so I can see your lovely faux fur piece!
#autumnolivecrochet
#fauxcrochetfur
#bearfauxthrow
