
colorwork instructions for my hdc graphs ♡
hdc graphs from my oversized pullover pattern fit on the back of my oversized cardigan pattern and vice versa
my selection of free graphics are also compatible with both
VIDEO TUTORIAL ♡
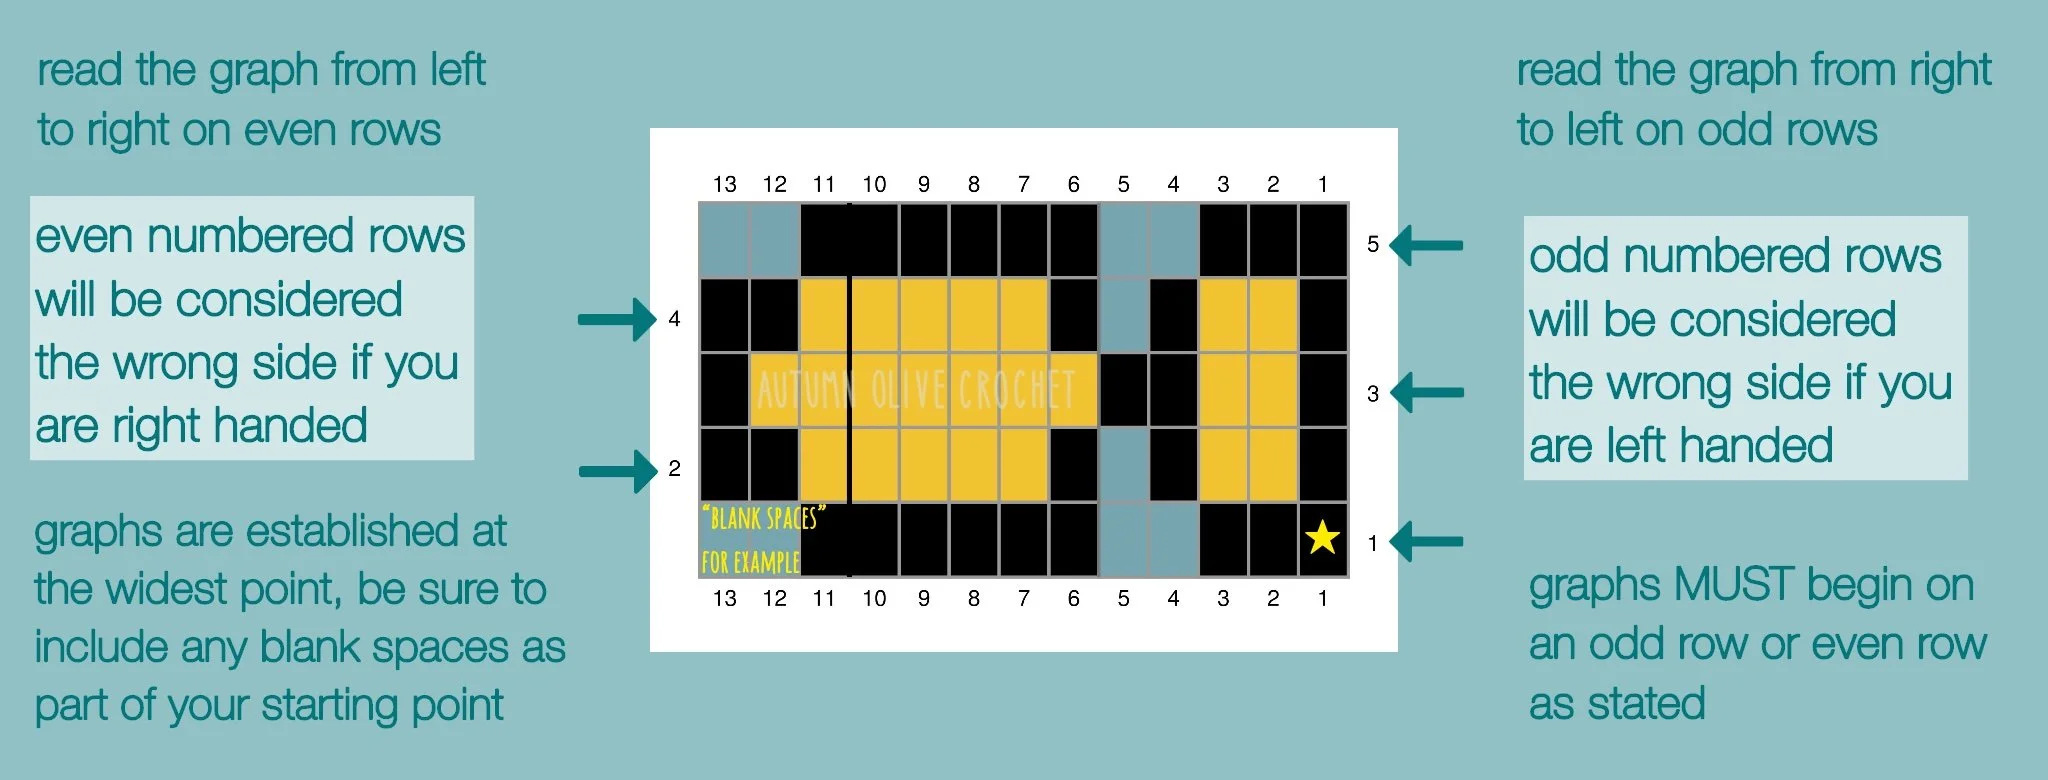
UNDERSTANDING CROCHET COLORWORK ♡ 1 grid square = 1 HDC!
in crochet, especially half double crochet, the stitches don’t sit directly on top of the stitches in the previous row; this gives the stitches a leaning effect in the direction you are working
example: a straight line on a graph can look wavy when the stitches lean to the left on odd rows and to the right on even rows

this is why each pattern tells you to start all my graphs on an odd row by default because I have designed them to account for this effect; It makes for cleaner lines and clearer images — sometimes the graph looks less clean than the crocheted version
example: see the fish sample below worked correct (smooth lines) vs incorrect (leaning stitches causing gaps)

HOW TO READ + FOLLOW GRAPHS ♡
1 grid square = 1 HDC! for my sweater base patterns, you could use my free graphs, “alpha patterns” & “pixel art” from google or pinterest, or anything created on stitchfiddle website as long as it fits in the dimensions of stitches X rows you’ll have
graphs are started at the widest point of the image, look at the numbers on the graph to ensure that you are including any additional blank spaces/background stitches on the first row as part of the starting point (example: pattern says graph begins on stitch 10 but there are 3 additional blank spaces before the first color change, so your first color change is on stitch 13)
RIGHT HANDED — read the graph from right to left on odd rows, and left to right on even rows — for the fish example, start with the tail end, keep all ends and color changes away from you when working the odd rows (front of your work) and towards you when working the even rows (back of your work)
LEFT HANDED — read the graph from right to left on odd rows, and left to right on even rows — for the fish example, start with the tail end, keep all ends and color changes towards you when working the odd rows (back of your work) and away from you when working the even rows (front of your work)
HOW TO MAKE ADJUSTMENTS ♡
if you want to work a graph backwards (to have two animals facing each other for example) you must start the graph on an even row (the mirrored image will show up on the right side and the original orientation will show up on the wrong side) so you will be working odd rows of the graph on even rows of the garment (back of garment for right handers/front of garment for left handers)
if you want to work the graph upside down you must start the graph on an even row IF it was an even number of rows tall. if it is an odd number of rows tall then you can keep it started on an odd row
this is how to center a graphic: take the number of stitches on your piece minus the widest number of stitches on the graphic to get the total number of background stitches, divided by 2 to be split on either side of the graph; say you got 18 background stitches divided by 2 = 9 so graphic begins on stitch 10, if you get a half number like 9.5 then you would do 9 on one side and 10 on the other
the same formula will be used to calculate which row to start a graph on if you want to crop or lengthen your sweater, be mindful of the number of rows you're working with and round to the nearest odd number, or you can manually distribute that difference evenly above and below the graph(s) by taking a few rows away from the top and bottom of your panel that don't interfere with your graphics
you can use stitchfiddle graph links included in any of my patterns to track your progress, make a copy & edit anything you'd like, and view color block counts for the graphs; the patterns now include blank graphs for each size for you to design your own image with ease or make major changes to the existing designs
HOW TO DO THE COLOR CHANGES ♡
when changing colors, it should be done on the last stitch of the current color, for HDC: yarn over, insert hook, yarn over, pull up a loop, yarn over with the new color then pull through.
I personally use tapestry crochet for wearables and crochet over all non-working colors to avoid floats, keeping it snug but not taught so they don't bunch up under the stitches. I carry the background color through the graphic and drop the other color(s) when they are done for that row. for large spaces between colors I will cut shorter lengths and make bobbins to work from
if you have several colors to carry you could also float one color at a time for a short distance of 2-3 stitches and alternate between them if you find it to bee too bulky to work over them all at once
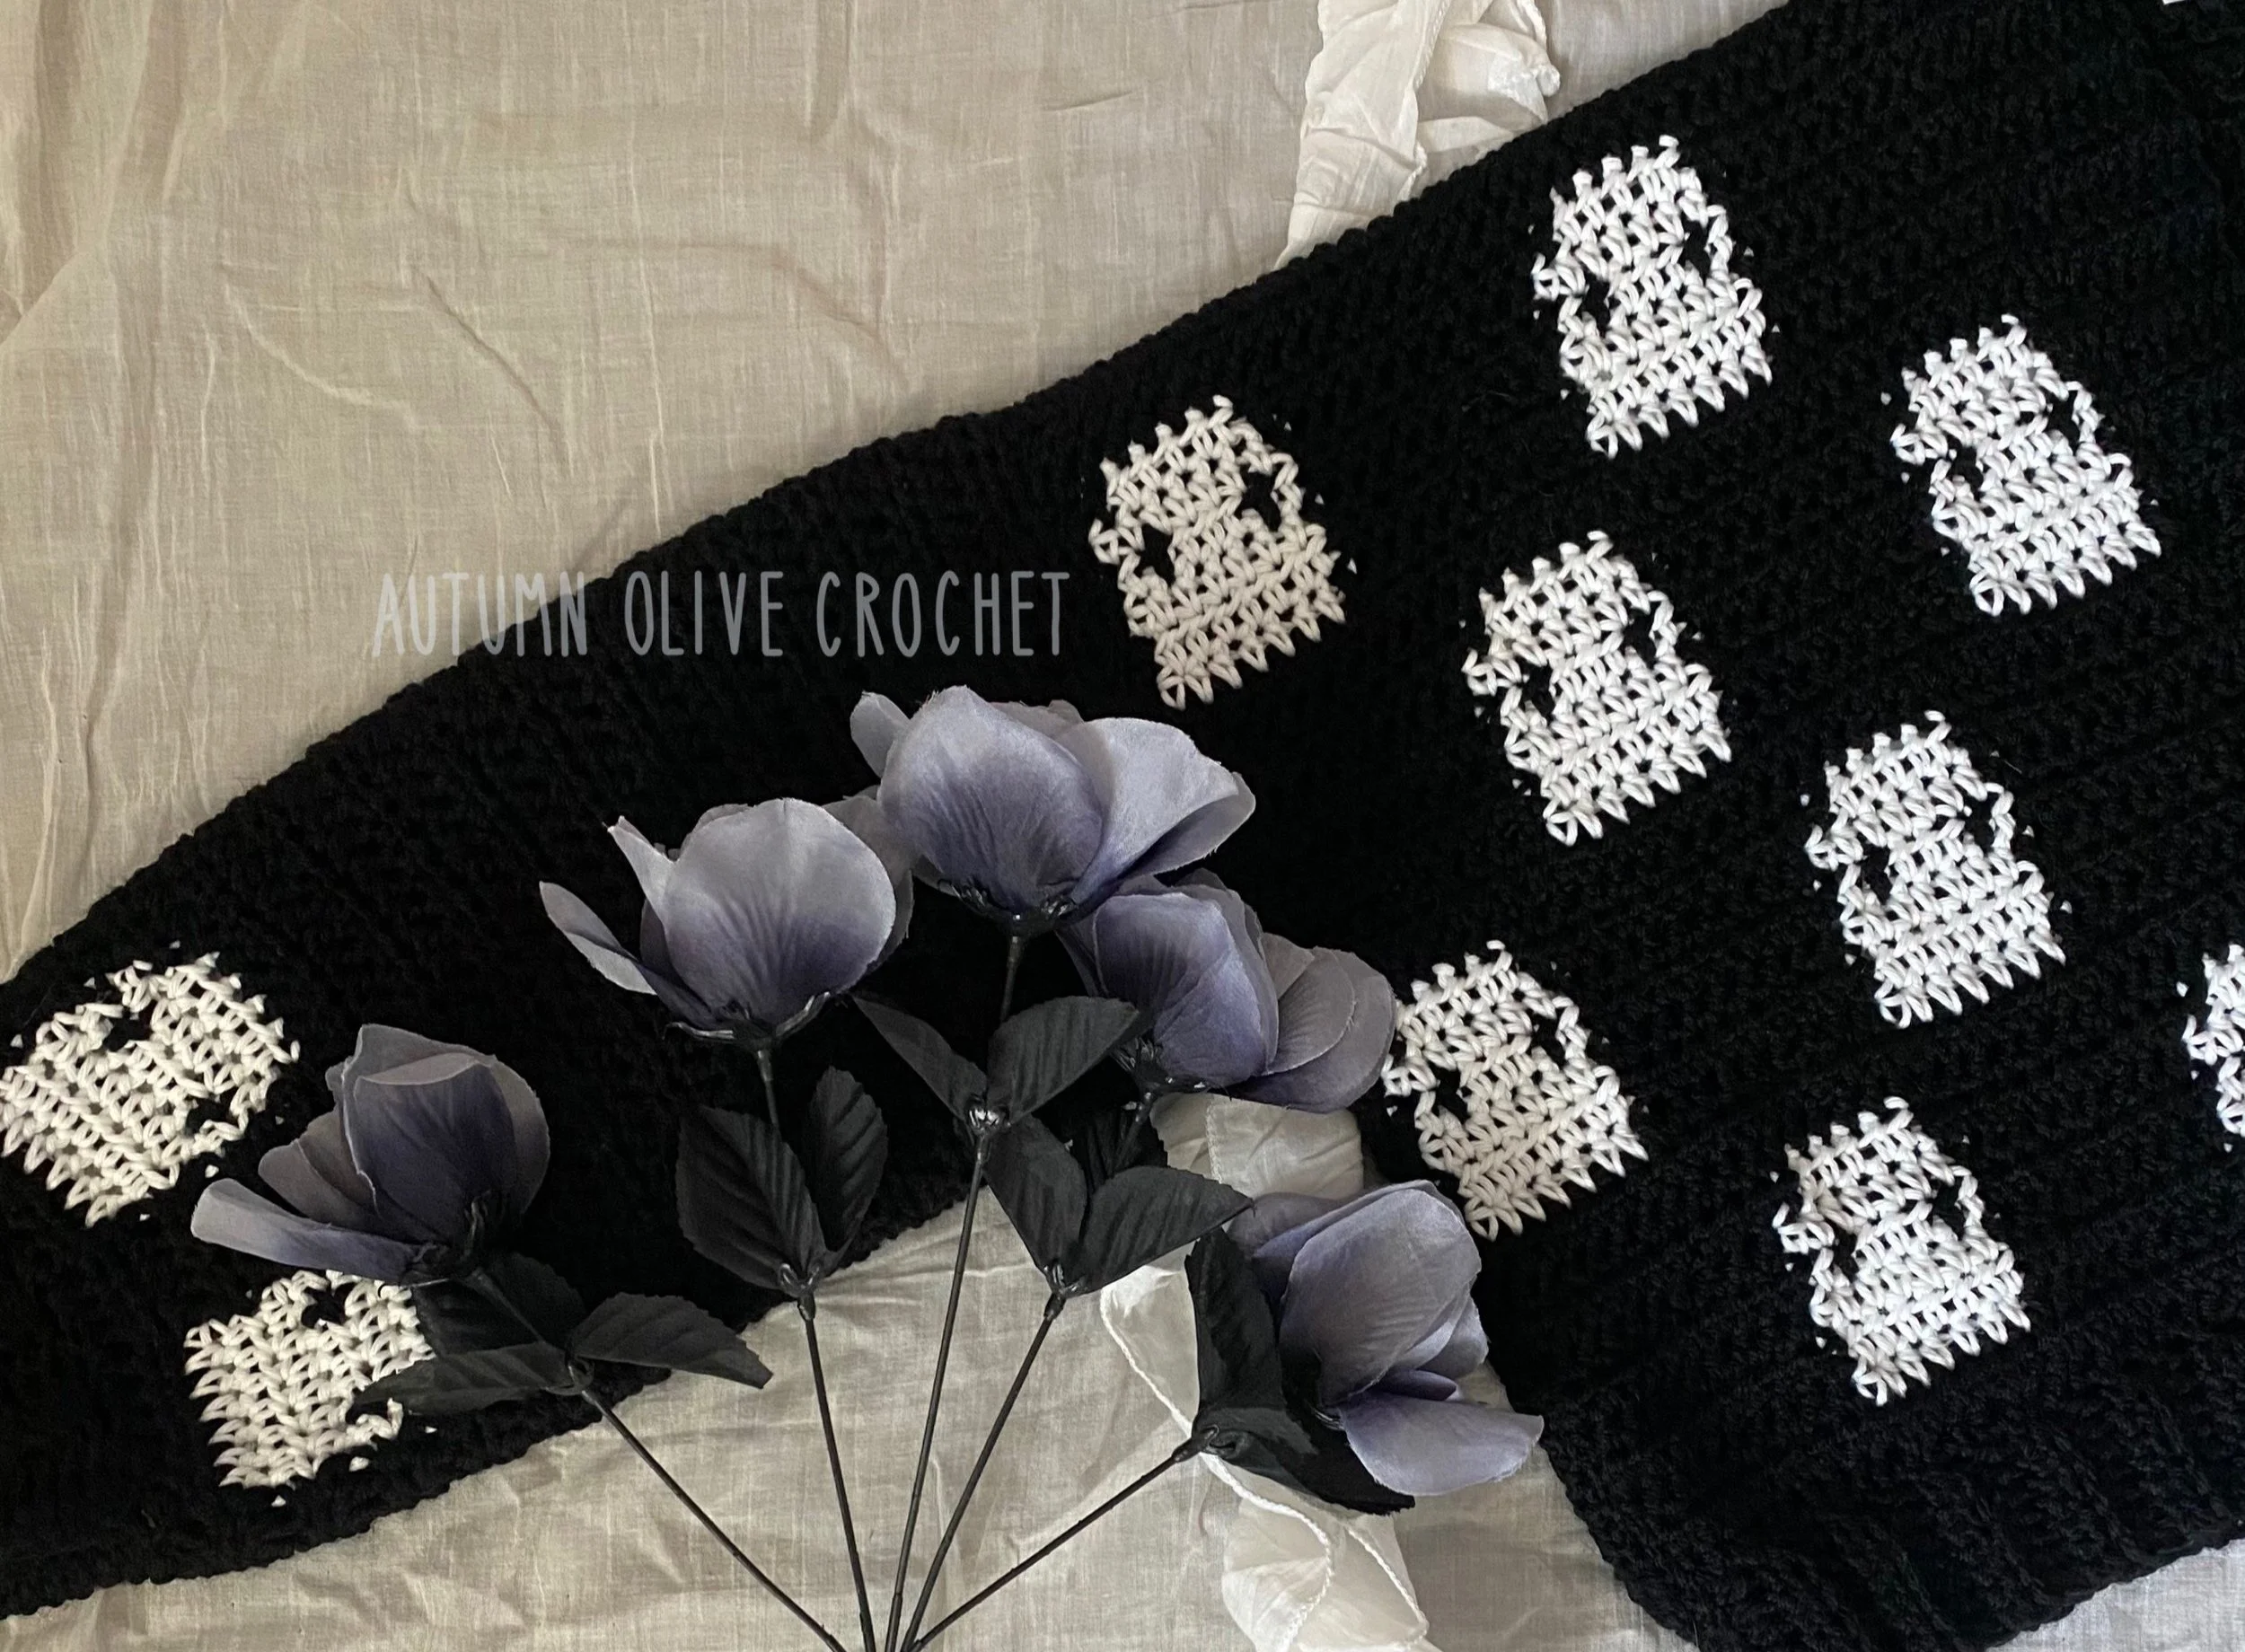
see below: I cut out several lengths of white for the ghosts so that it wouldn't show up in the black spaces between, but I just crocheted over the black background color in each ghost graphic
little tip I use for small sections of hdc colorwork, 50 sts or so: count the squares in the graph of a certain color and wrap the yarn around 3 fingers that many times (best to test this out for yourself first) or you can just make a swatch to determine the length needed
be sure to untangle your yarn every couple of rows so you don't end up with knots! try turning your work back and forth every row instead of round and round in the same direction on each turn
PAIR OF VESTS COLORWORK ADJUSTMENTS ♡
pair of vests pattern has both pullover & button up options
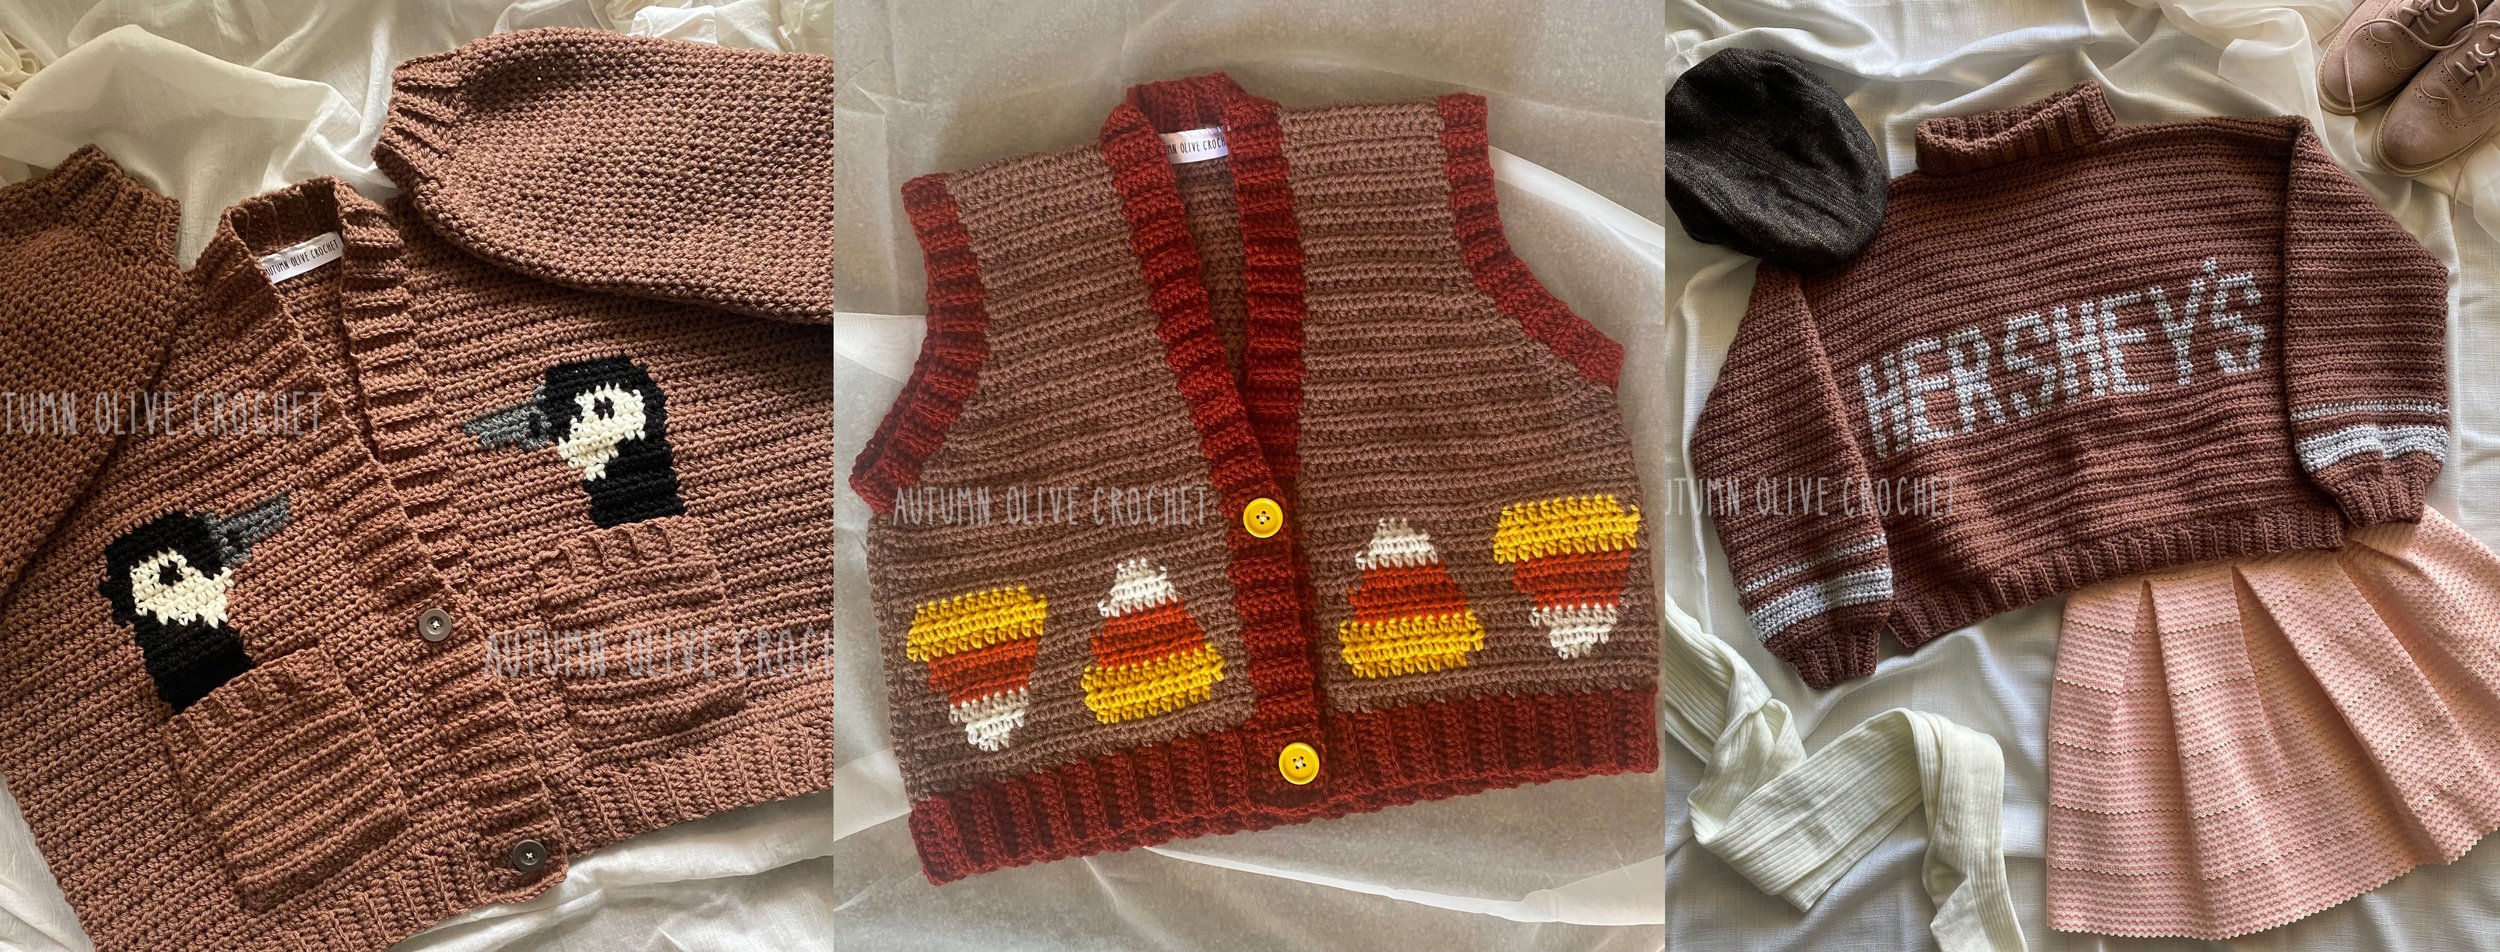
this pattern is worked in the same method as my ‘autumn olive oversized’ pullover & cardigan patterns, most graphics found in the colorwork variations of those patterns will fit on this vest (vintage kitchen sweaters, mabel sweater collections, care bears costume sweaters, duck duck goose, pocket full of posies, halloween & holiday mini graphics, etc.)
both the pullover & cardigan graphics are designed and written for the same row count/height of the vests, but depending on the width of the graph you may need to work it lower on the vest or size up to avoid running into the vest arm decreases
if in any case the chosen graphic is a few stitches/rows too wide, for example my free coca cola graphic is too wide for the XS, you can follow a larger width in the pattern for your panels and the regular size for the height of the vest
in the pocket designs, like the birds & flowers, some may need to start lower/have pockets placed closer to the inside to avoid the arm decreases — best on size S and up
CHILD SIZE COLORWORK ADJUSTMENTS ♡
coloring book cardigan kids base pattern
coloring book pullover kids base pattern
these patterns are a scaled down version of my autumn olive oversized cardigan pattern & autumn olive oversized pullover pattern– all graphics found in the colorwork variations of that pattern are compatible with this cardigan (duck duck goose, pocket full of posies, halloween & holiday mini graphics, etc.) & sweater (vintage kitchen sweaters, mabel sweater collections, care bears costume sweaters, etc.)
if you want to make a colorwork graphic for a baby sweater, I would recommend either following the made to measure instructions in this pattern or any other sweater pattern and then using a 2mm hook with fine (weight 2) yarn and working the colorwork graph into a separate hdc patch to be sewn onto the sweater; this way you could even move the patch to a larger sweater as the baby grows rapidly (or this applique method may work better for some designs: https://www.autumnolive.com/free-patterns/colorwork-applique )
if in any case the chosen graphic is a few stitches/rows too big, for example the free coca cola graphic is too wide for the two smallest child sizes, you can follow a larger width in the pattern for your panels and the regular size for the rest of the sweater